Get ready to rev up your excitement as the highly anticipated Brisbane National 4×4 Outdoors show is just around the corner. Amidst the thrills of climbing hills, special guests, and exploring

Disc Brakes Australia to showcase its extended product range at the 2024 AAA Expo The iconic Australian company will be launching its all-new ‘Upgrade Performance’ line of 4WD products, amongst
Offering invaluable advice through their Australian Customer Support Teams is one of the many ways Disc Brakes Australia helps you to get track ready. In this article, we look at DBA’s advice how

Disc Brakes Australia (DBA) and Australian Clutch Services (ACS) announce Gideon’s retirement from his role as Executive General Manager. In the ever-evolving landscape of the automotive industry,
Disc Brakes Australia and Motorsport Australia Form New Alliance Disc Brakes Australia (DBA) is excited to announce its new partnership with Motorsport Australia as their exclusive Brake Partner.
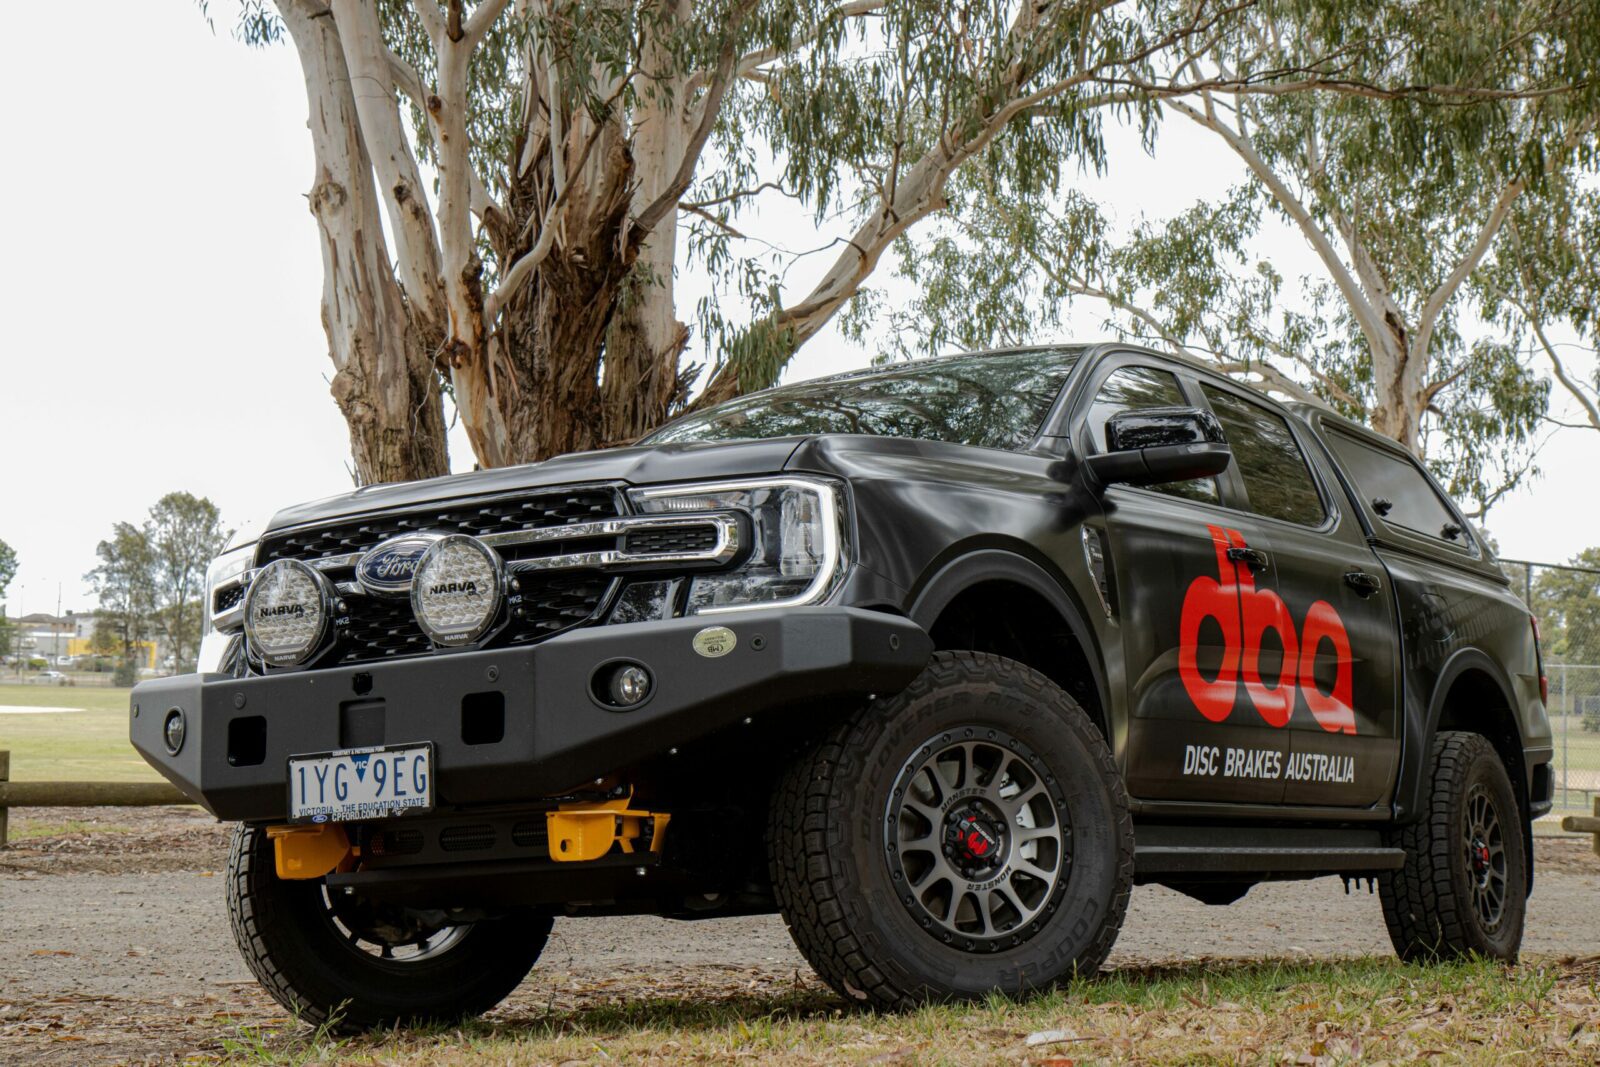
The numbers are out, and – maybe somewhat unsurprisingly – it is Ford’s all new Ranger that has taken the crown as Australia’s best-selling vehicle in 2023. Over 63,000 units were sold last

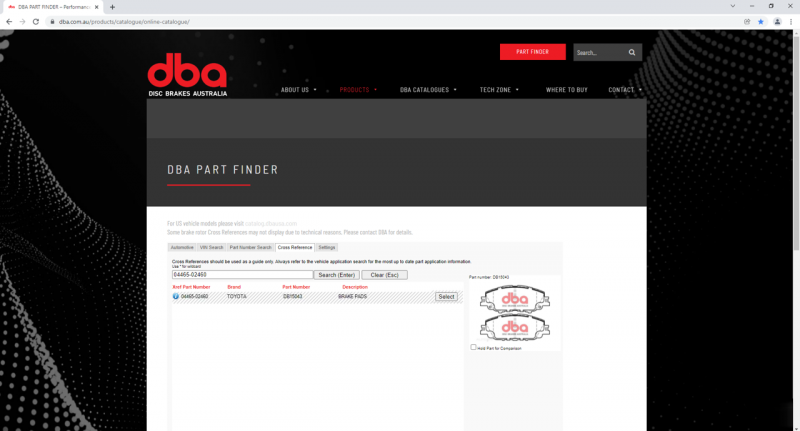
The new ‘Part Finder’ catalogue website displays the company’s comprehensive product range in an enhanced format, with over 10,000 individual SKUs listed. While the ‘classic’ version of
Disc Brakes Australia (DBA), a leading name in the automotive industry, is proud to announce its achievement of the coveted Platinum Status with SEMA Data. This pinnacle status accomplishment with
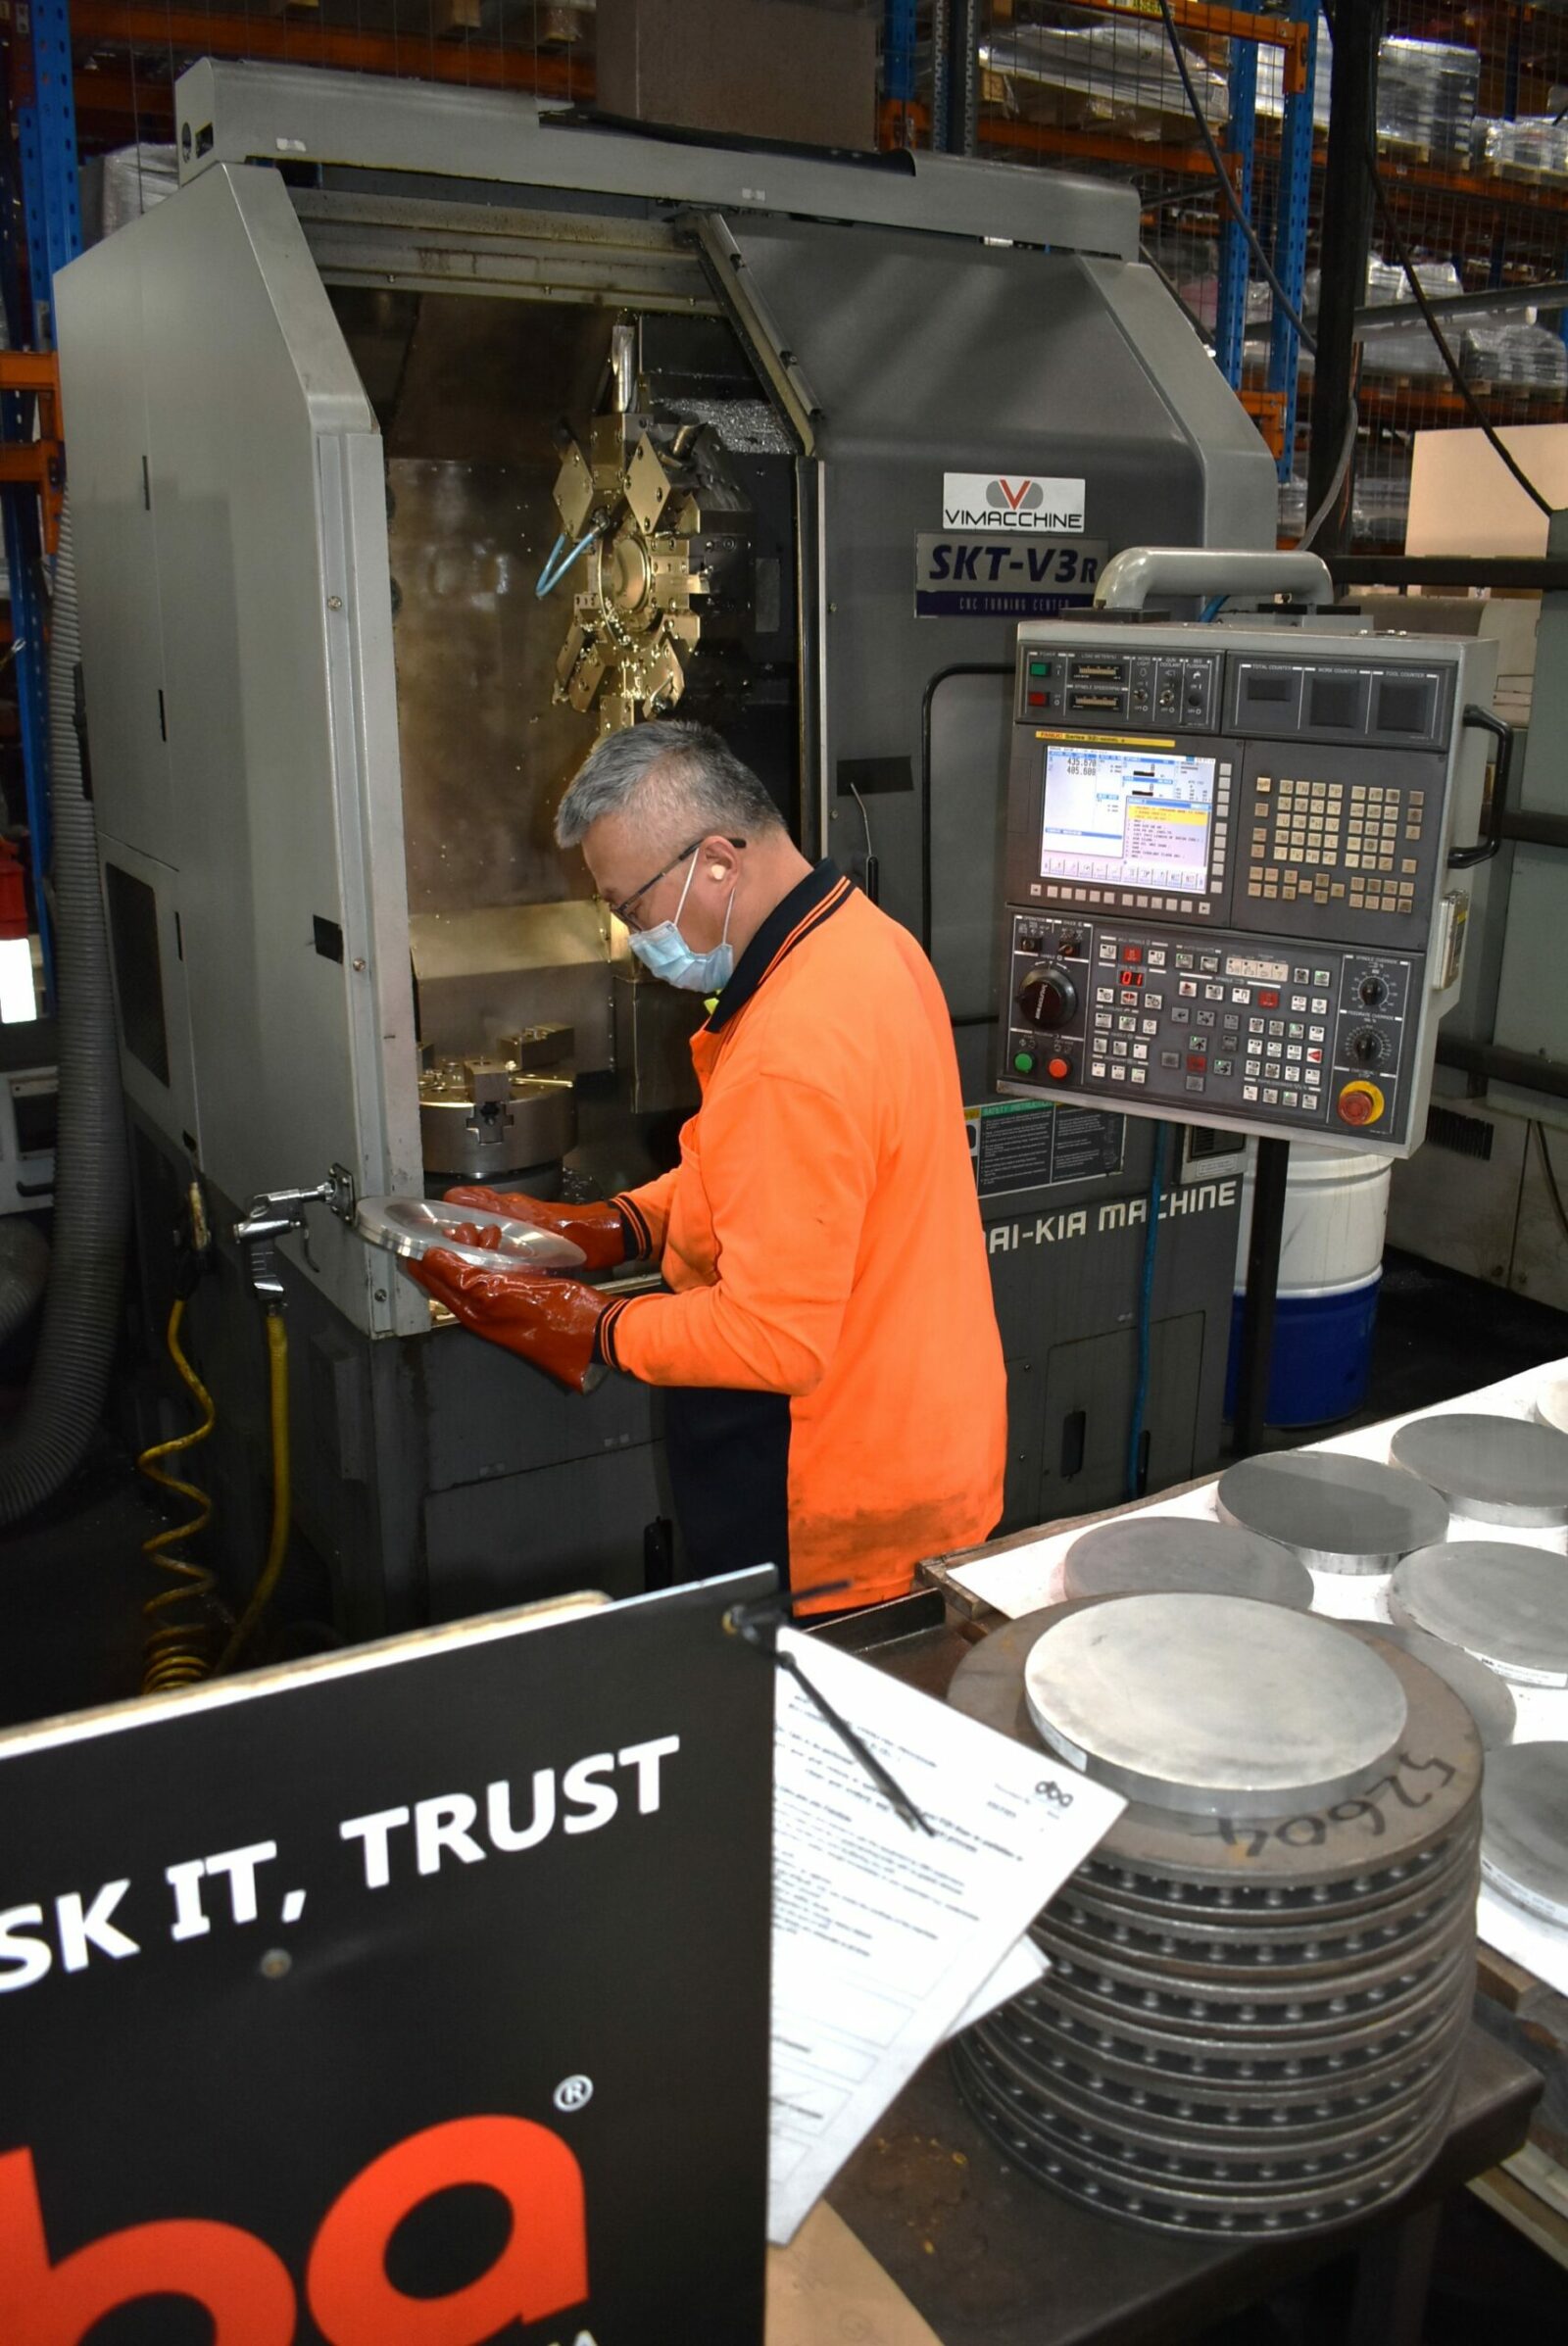
Nearly 50 years since manufacturing its first ever brake rotor for a Holden HD, Disc Brakes Australia is going from strength to strength. “Australian manufacturing will always be at the core of
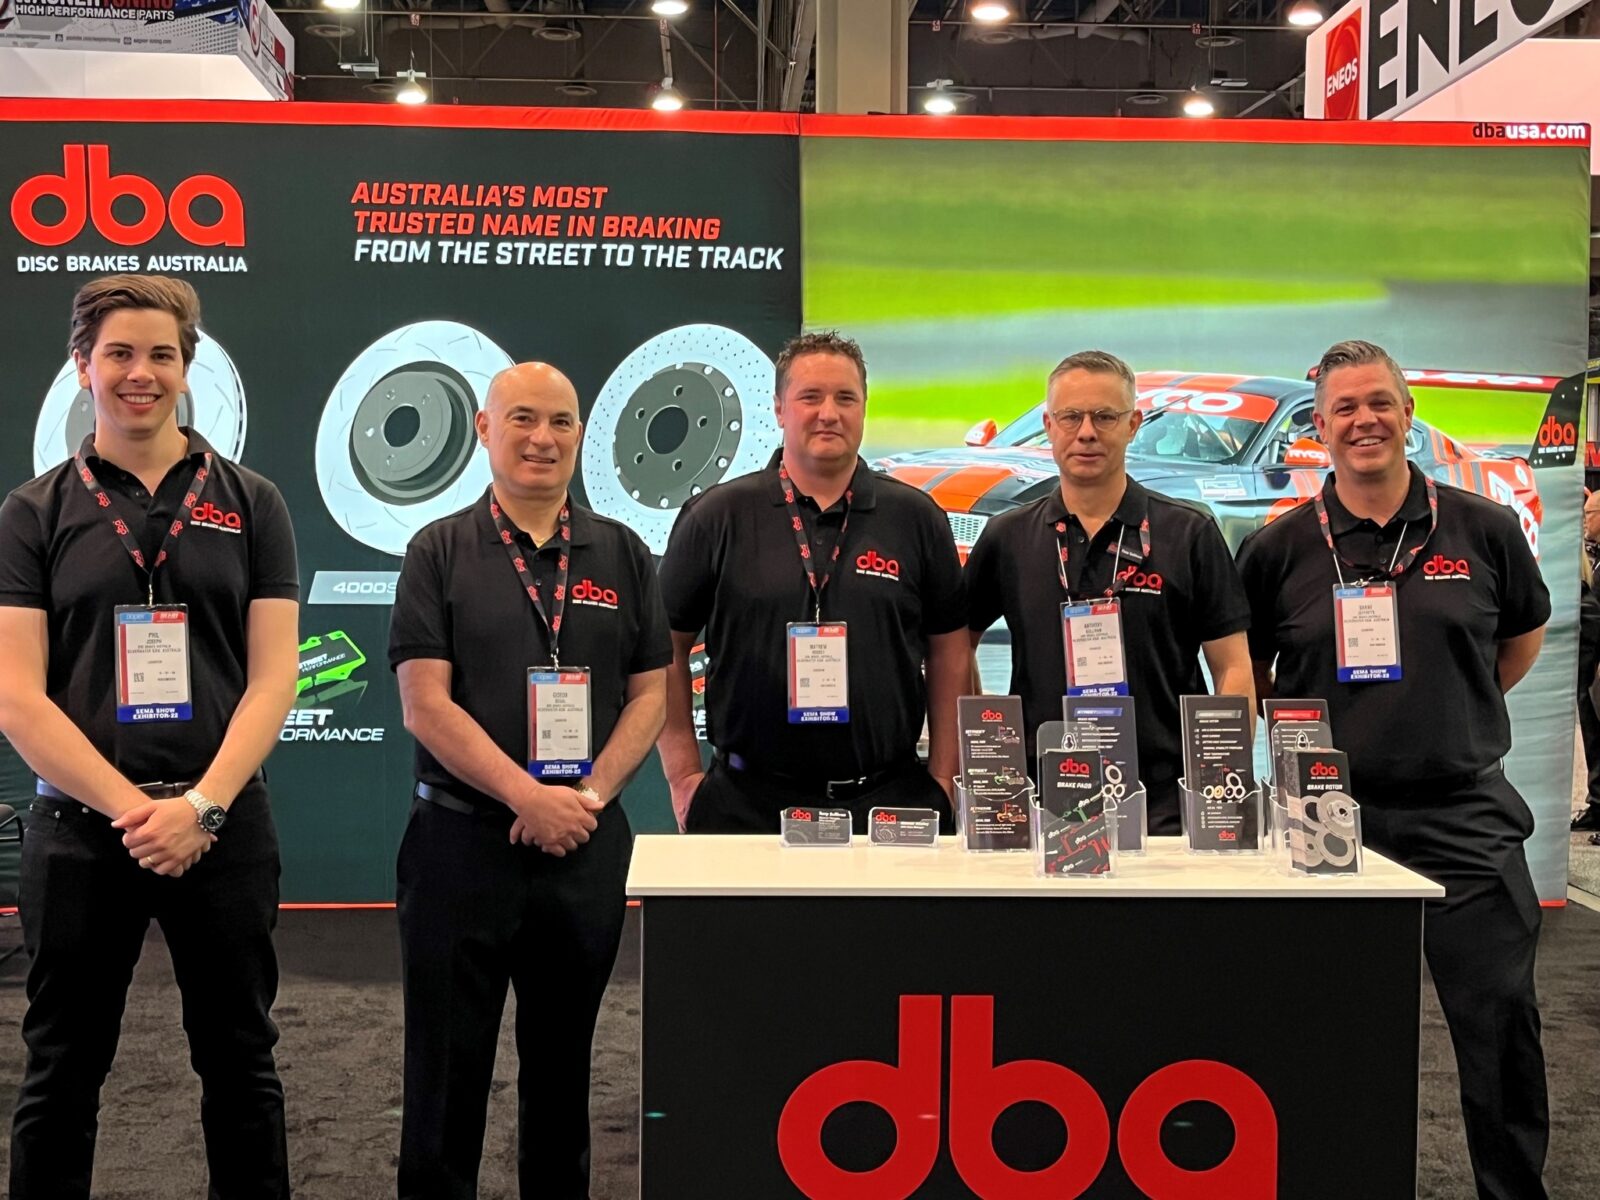
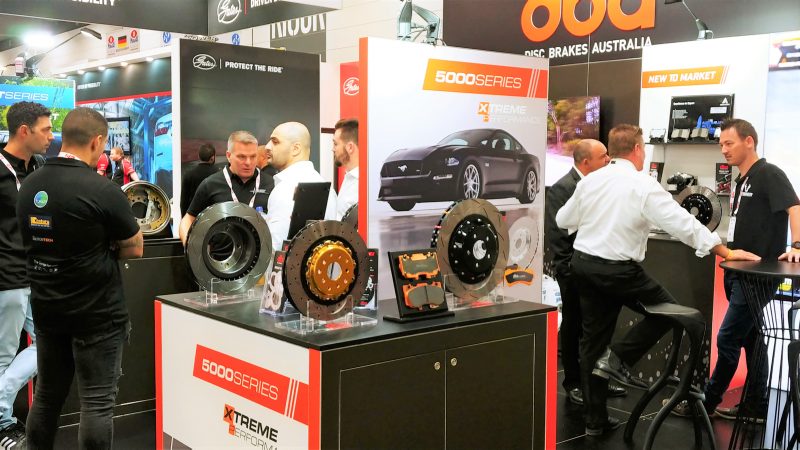
It’s that time of year when the automotive world gathers in the US city of Las Vegas, NV to attend SEMA, the world’s largest exhibition of motorsports and car culture. Disc Brakes Australia has

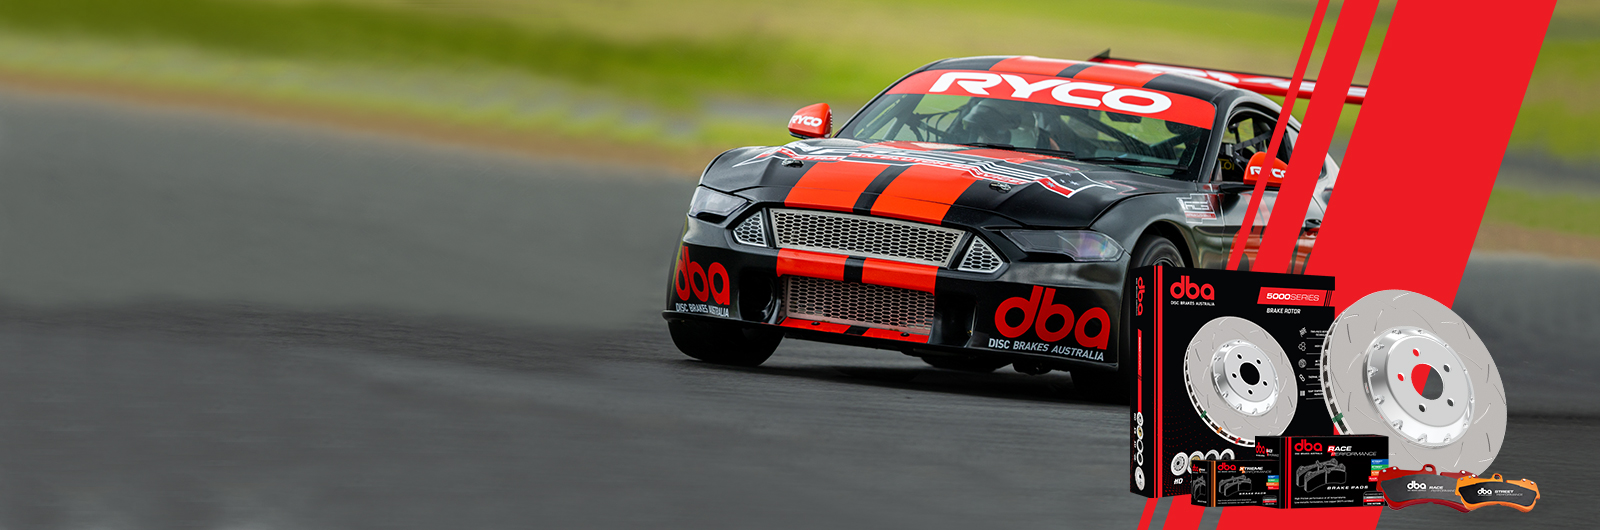
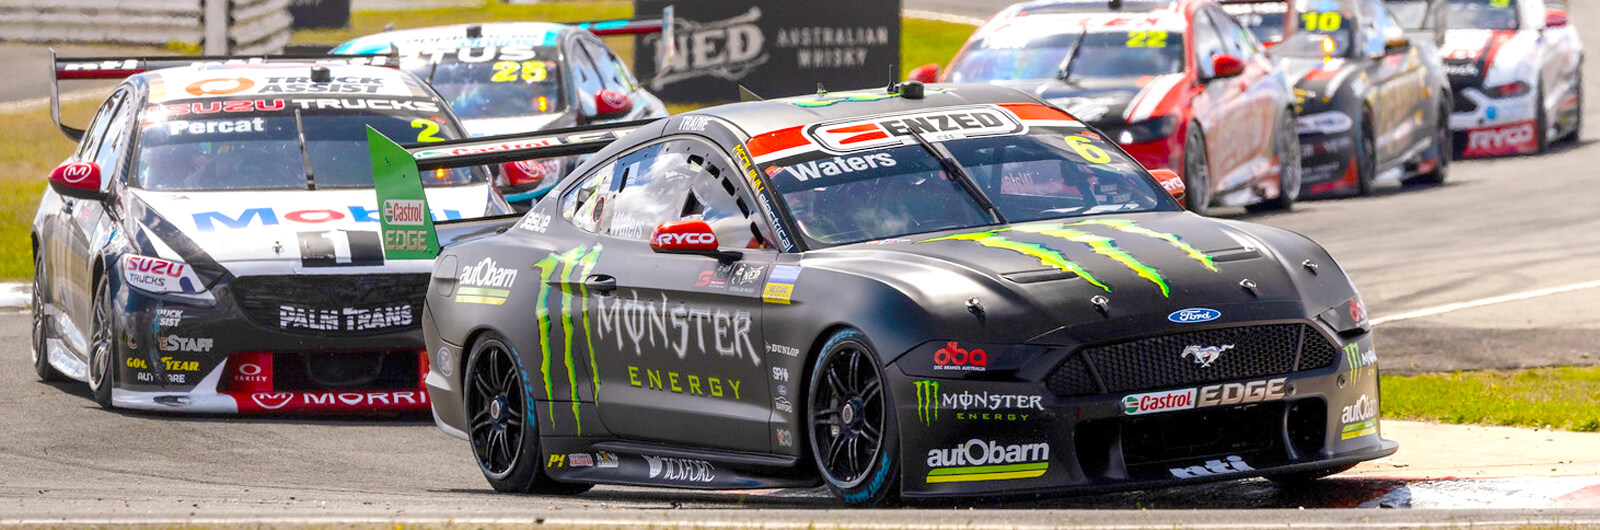
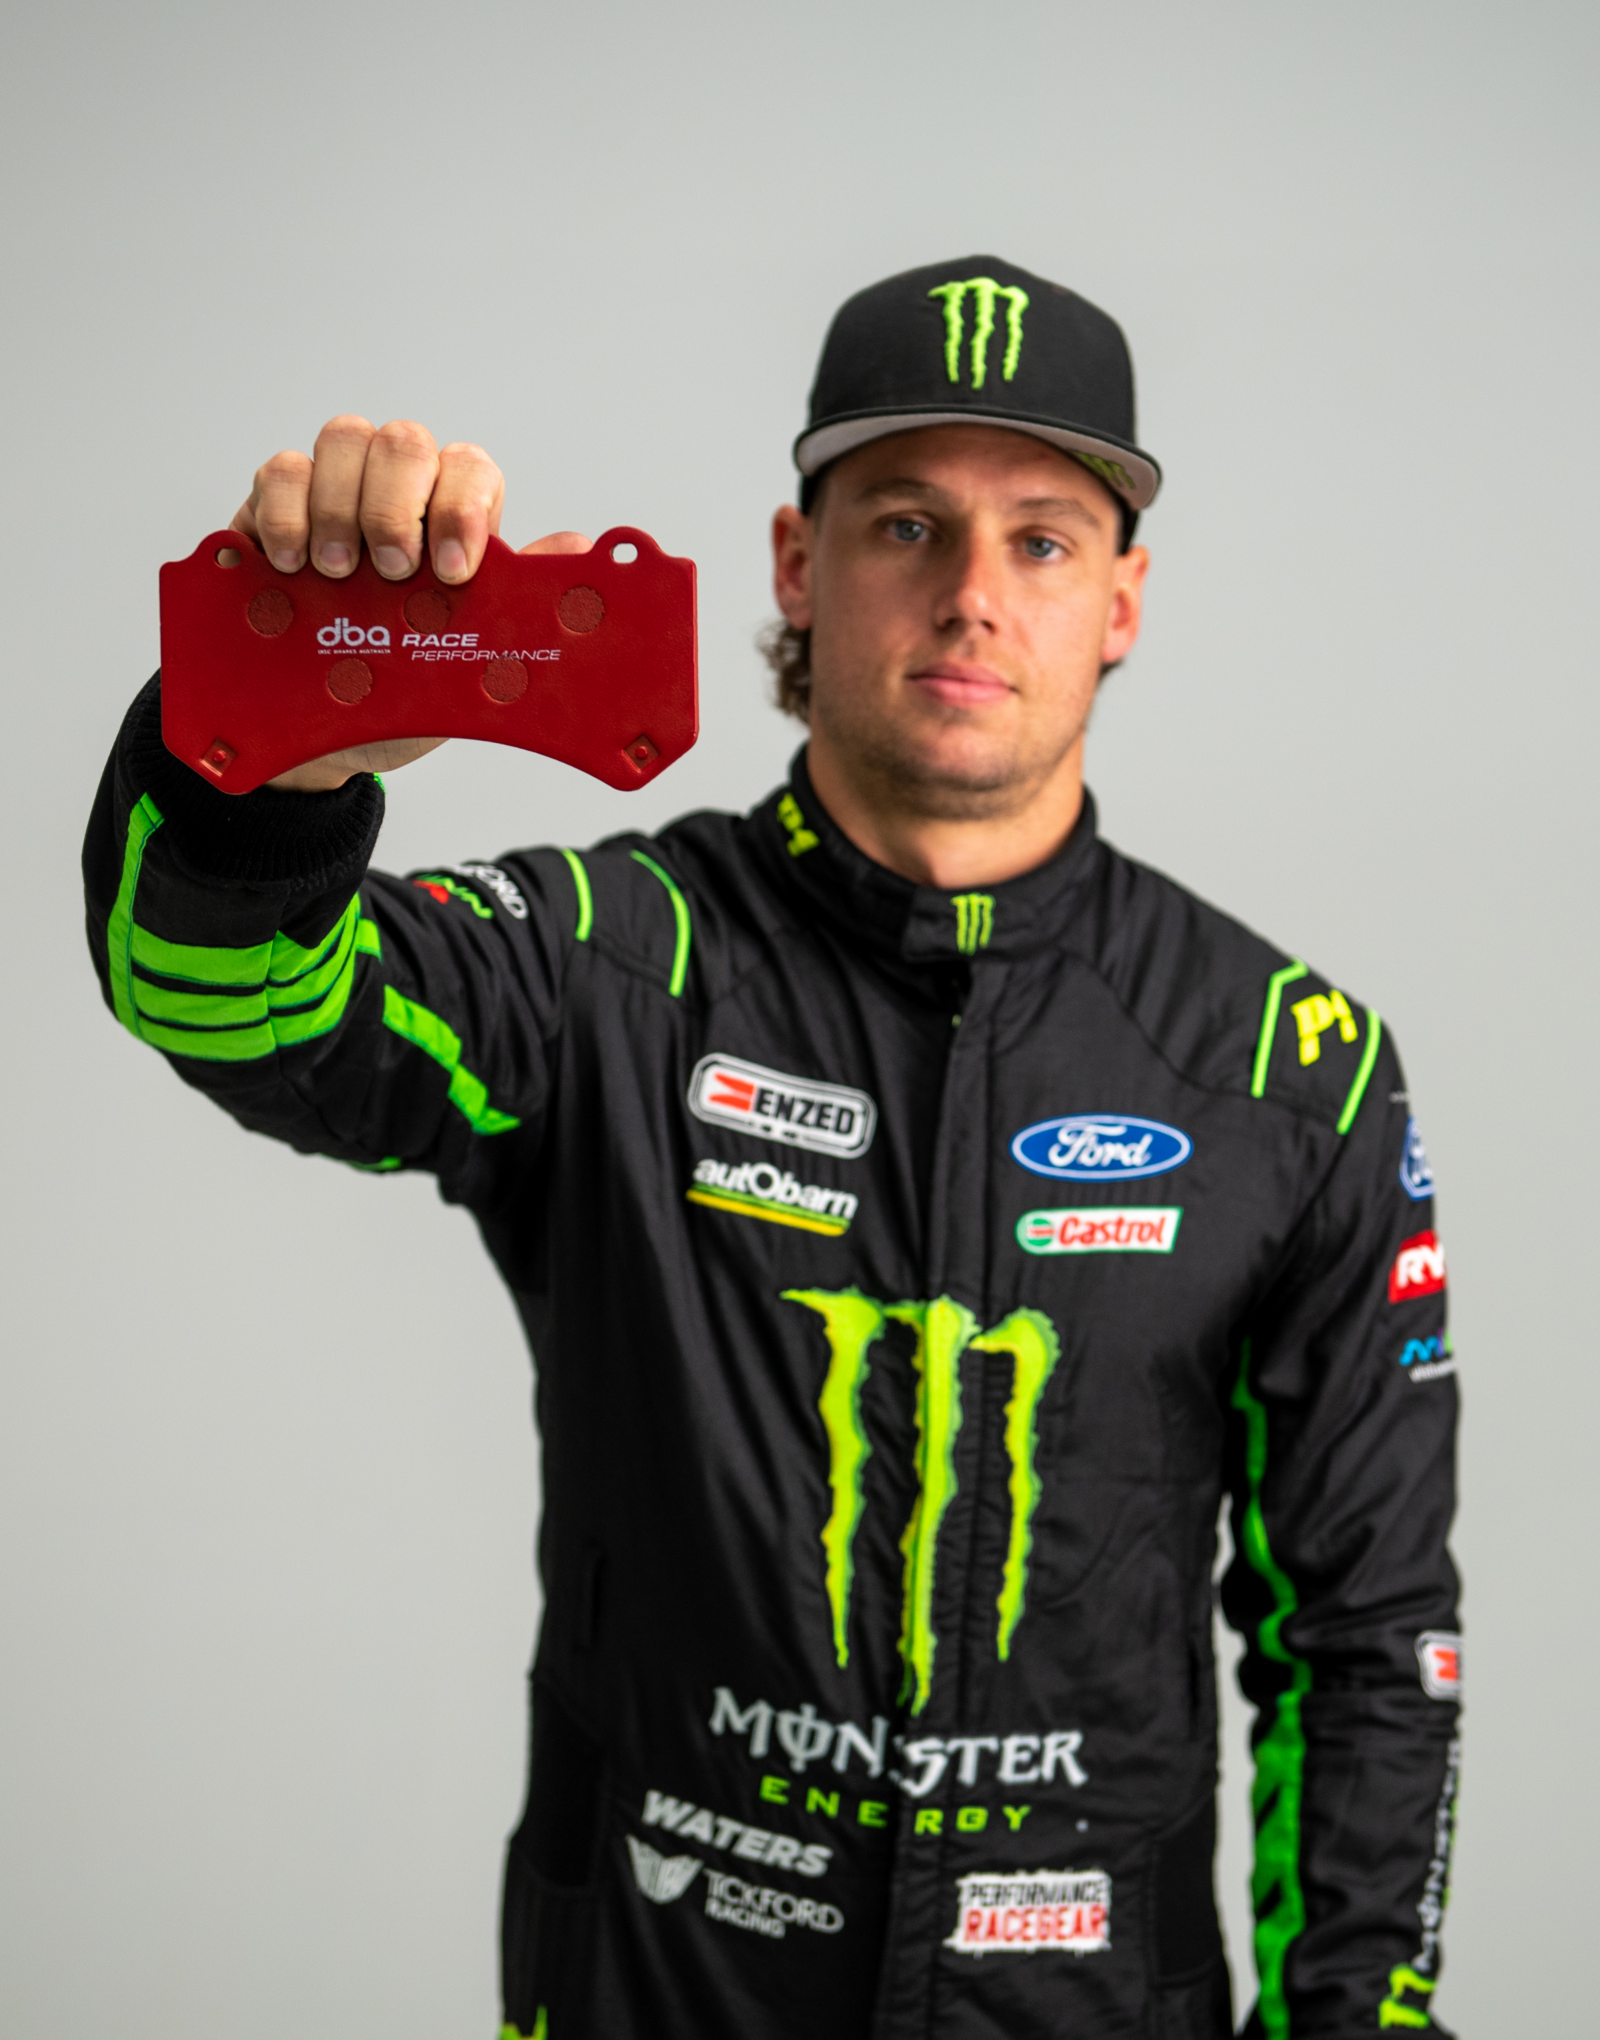
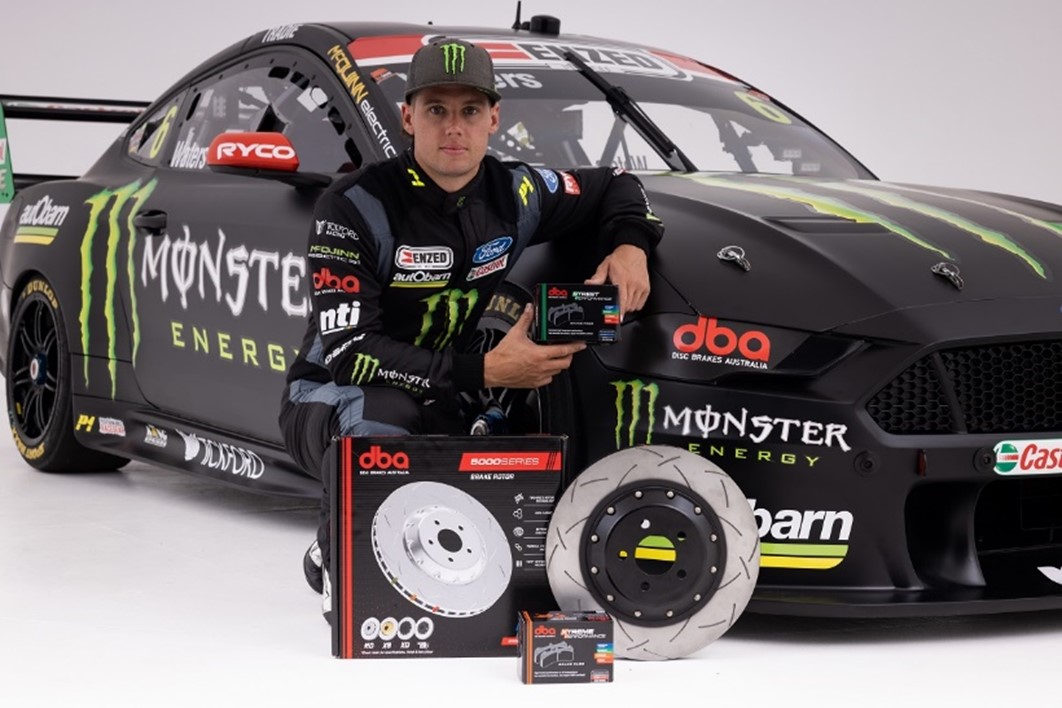
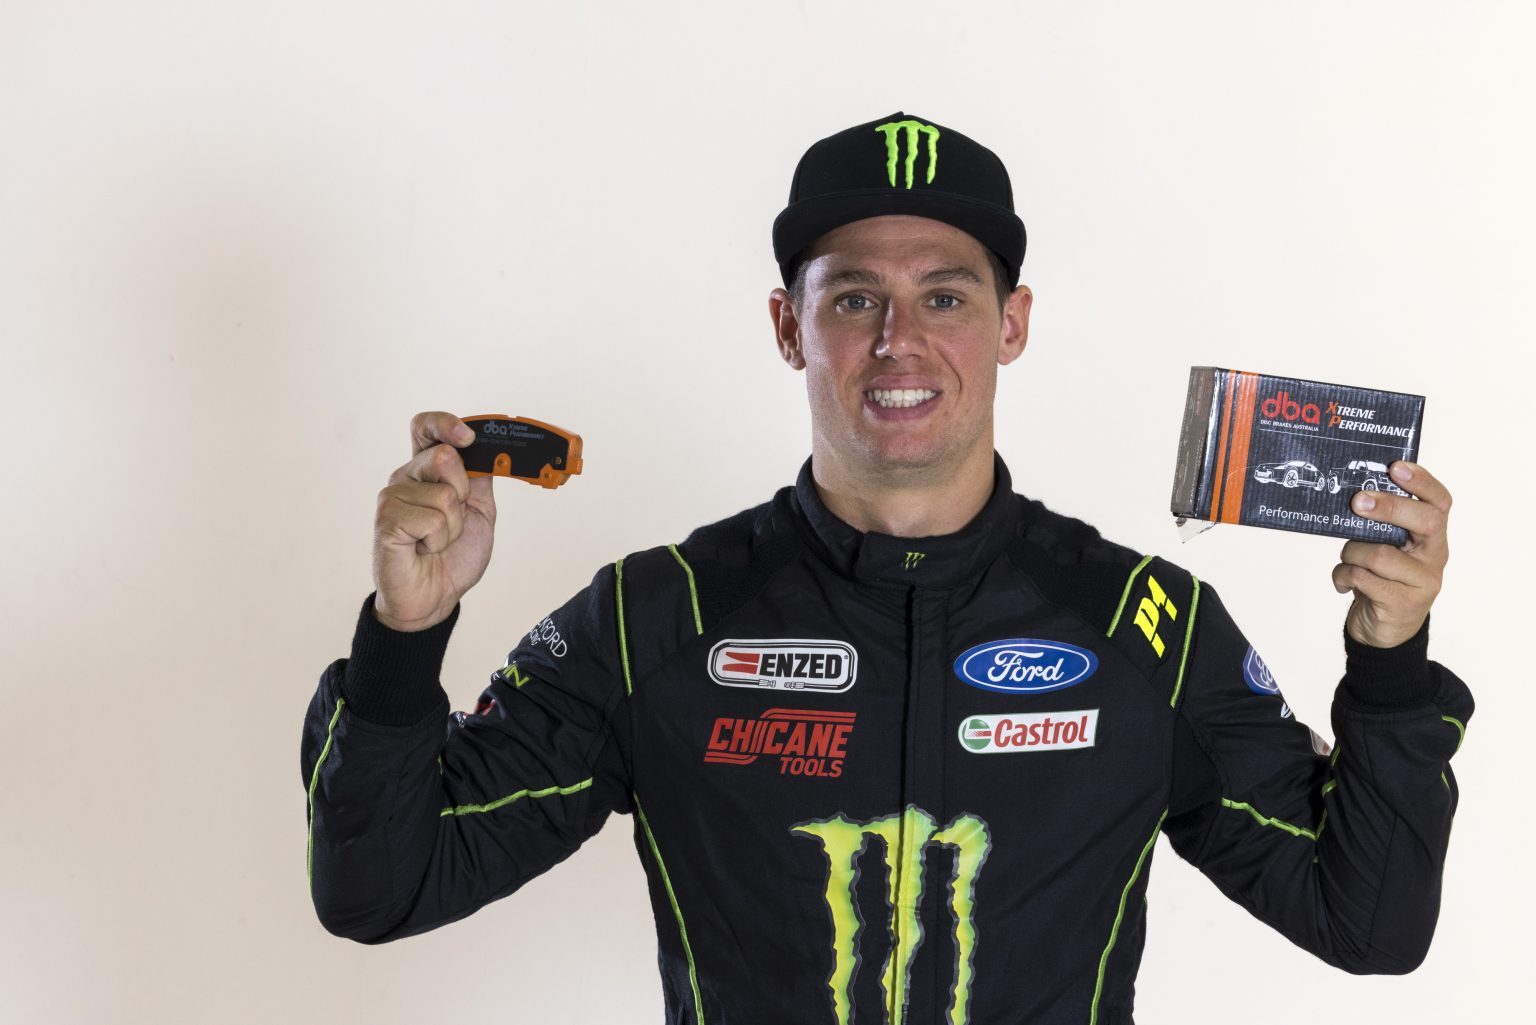
It’s the time of year again when the motorsport eyes of our nation are on one race – the Bathurst 1000, the Great Race. As Tickford Racing gear up for the big event, their Monster Mustang

Disc Brakes Australia (DBA) wishes to announce that effective September 1, 2023, Phillip Joseph will be appointed to the role of General Manager. Phillip’s promotion will now see him lead all
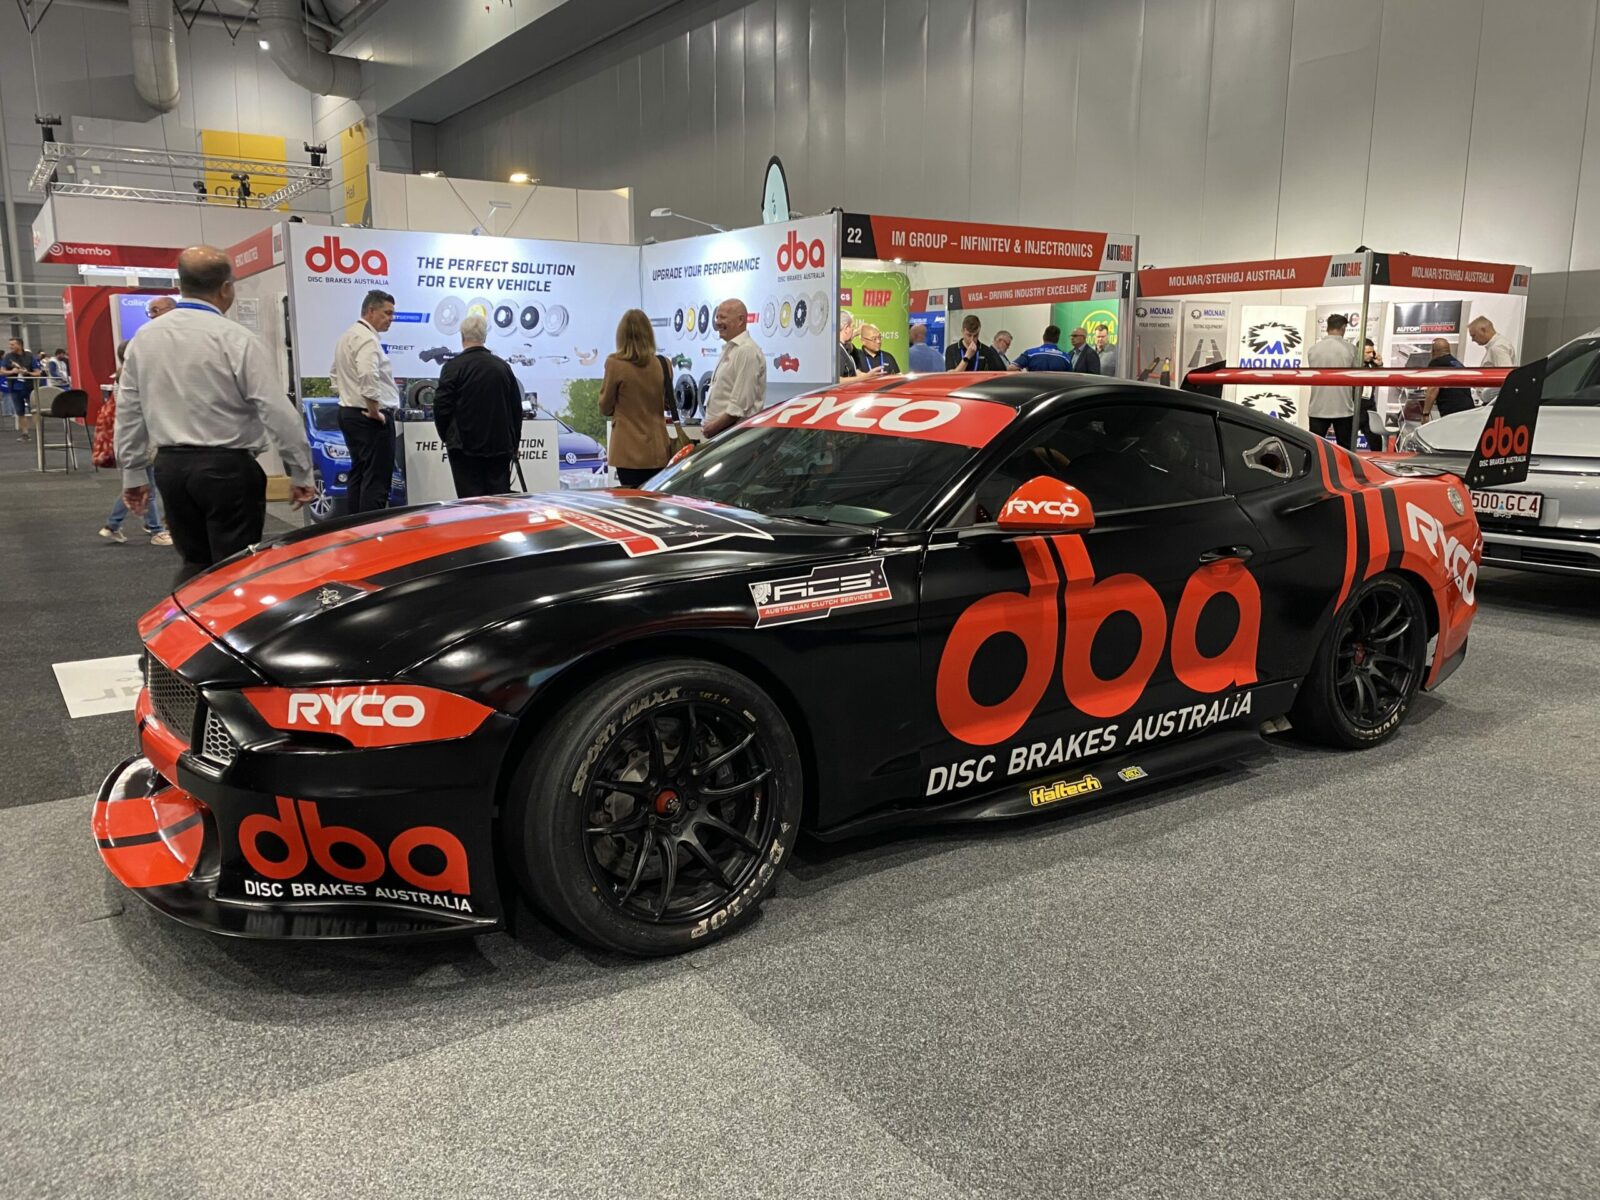
Visitors who came to see Disc Brake Australia (DBA) at the 2023 AAAA AutoCare exhibition in Brisbane (9 - 10 June 2023) encountered a showcase of the most comprehensive range of brake
Australia’s leading manufacturer of replacement and performance brakes, has brought to market a new rotor application set to excite the Subaru
Visitors coming to see Disc Brake Australia (DBA) at the 2023 AutoCare exhibition can expect to encounter a showcase of the most comprehensive range of brake

Having led the market in producing high quality brake rotors for decades, Disc Brake Australia (DBA) more recently has also become synonymous with OE-replacement and performance brake
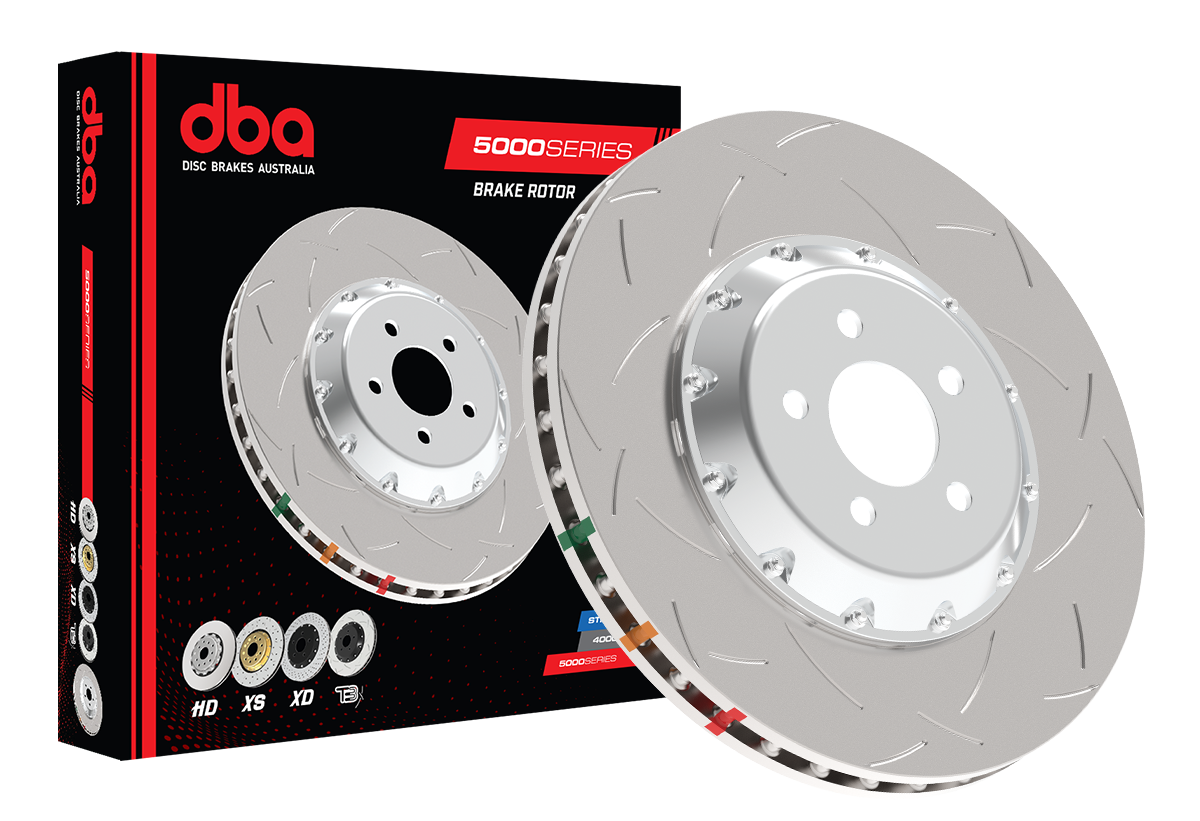
DBA has once again stepped up to the challenge and has come up with an all-new range of Hybrid Composite (HC) two-piece
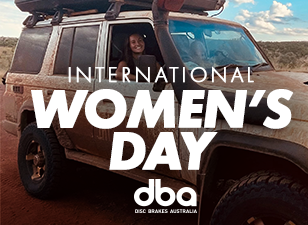
International Women's Day is observed on 8 March and is a global day celebrating the social, economic, cultural, and political achievements of
Disc Brakes Australia (DBA), Australia’s leading brake specialist and #1 brake rotor manufacturer, is continuing its journey of expanding its product portfolio. The latest addition to its
A recent survey to over 5,000 independent workshops in Australia has found that more than three in four industry professionals choose Disc Brakes

In December, DBA farewelled David Morton, one of the backbones of the business, who ran DBA’s manufacturing facilities in Silverwater for over 30
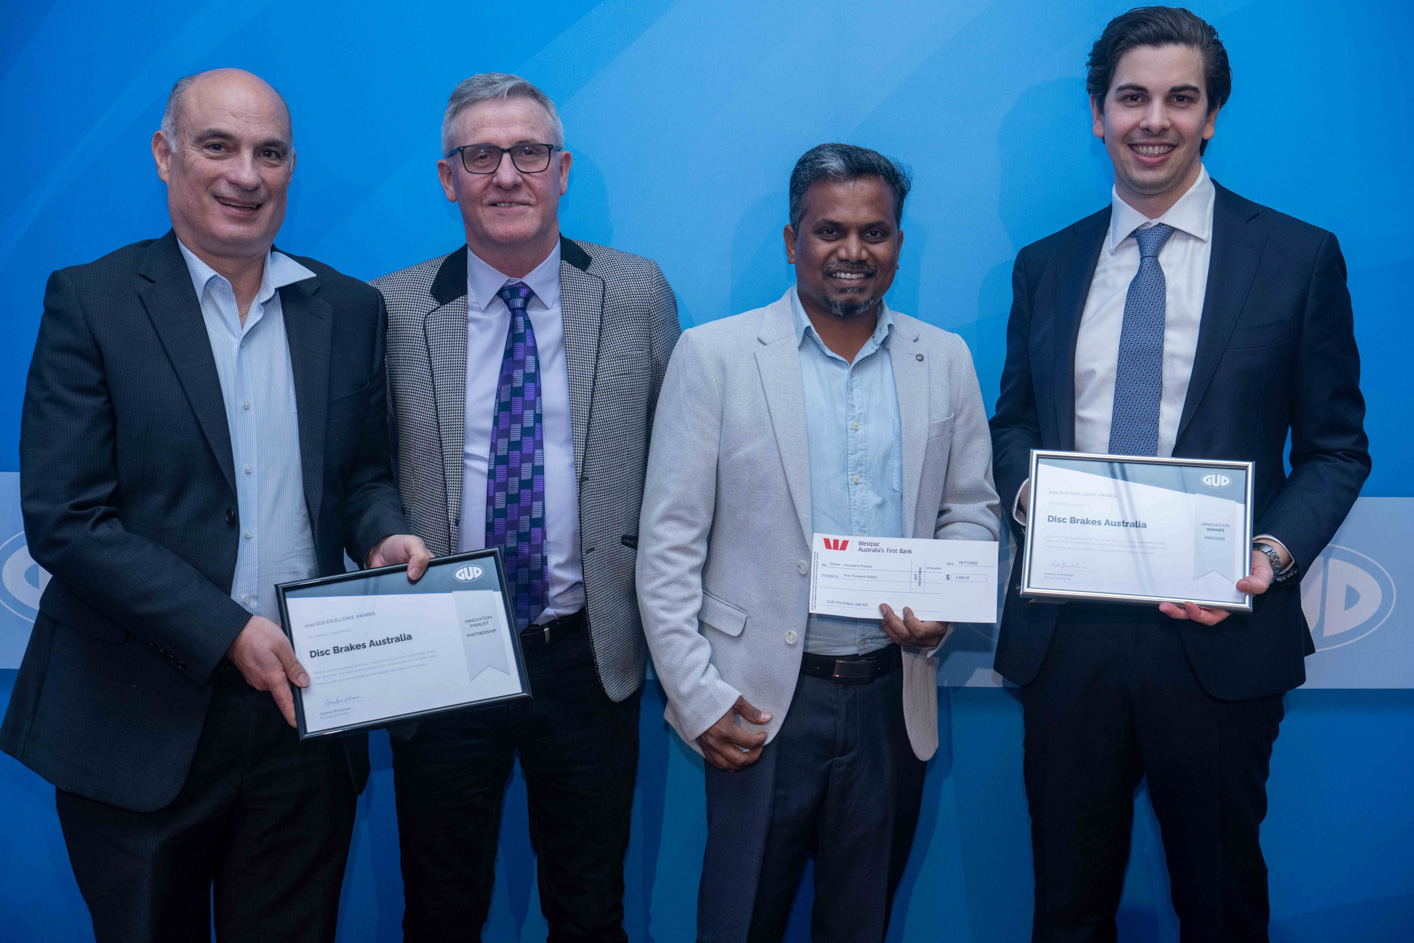
Since 2018, Disc Brakes Australia has been part of GUD, owner of a portfolio of companies mainly in the automotive aftermarket industry. GUD held its 2022 GUD Excellence Awards at the Royal
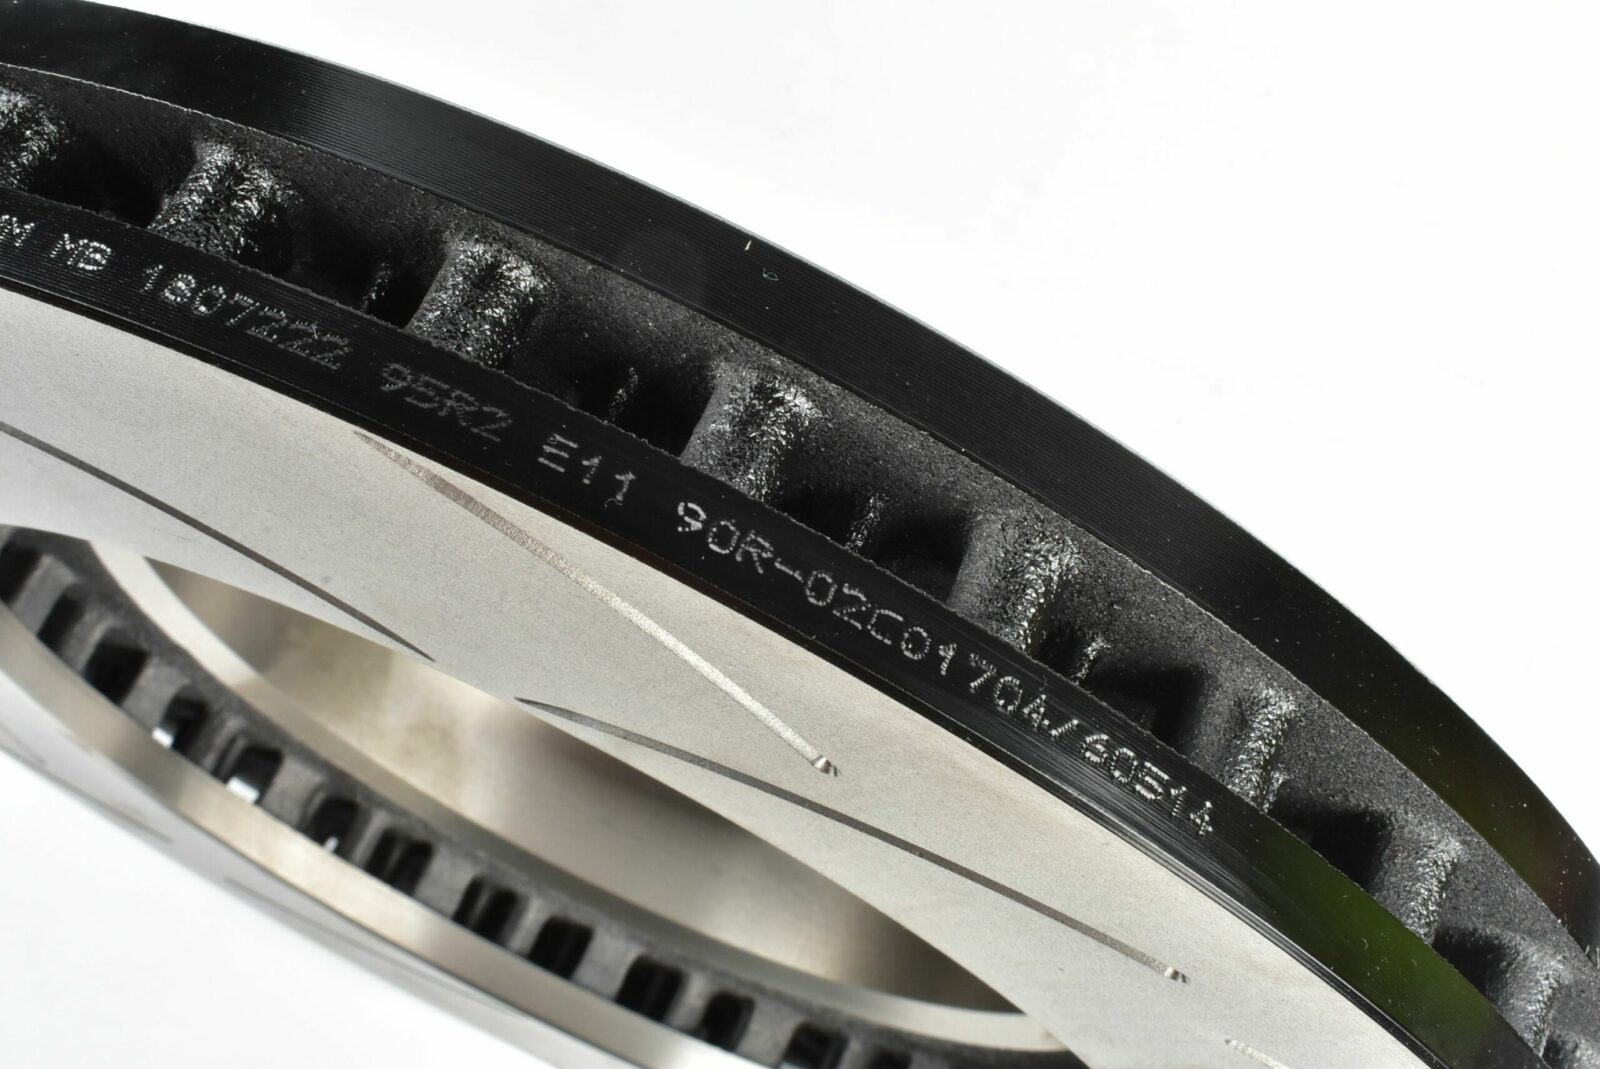
The UN ECE-R90 is a European regulation that defines standards for brake friction, rotors and drums in terms of design, performance and test standards. It states that for every replacement product,
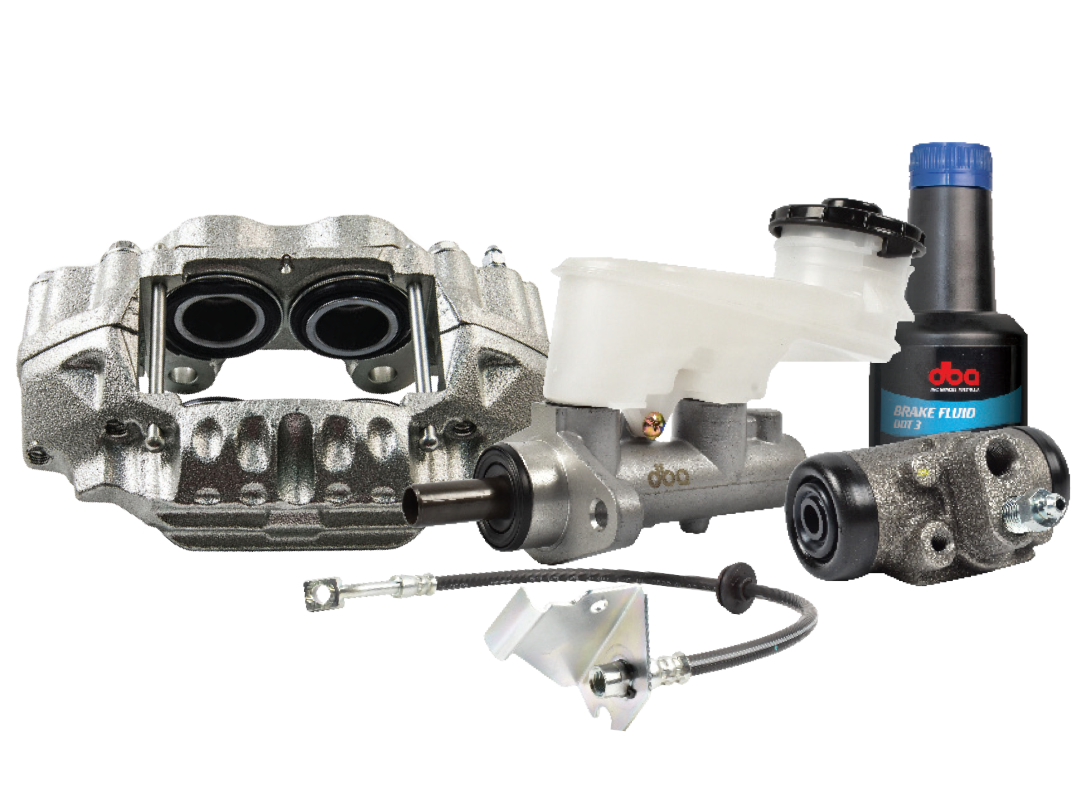
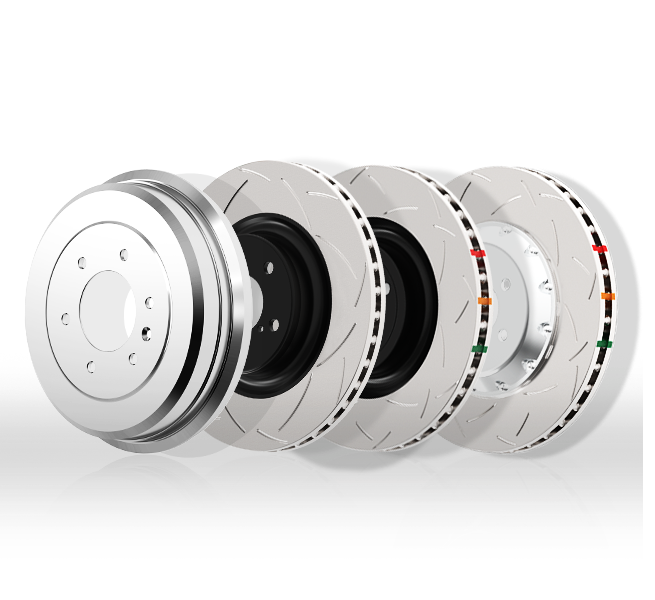
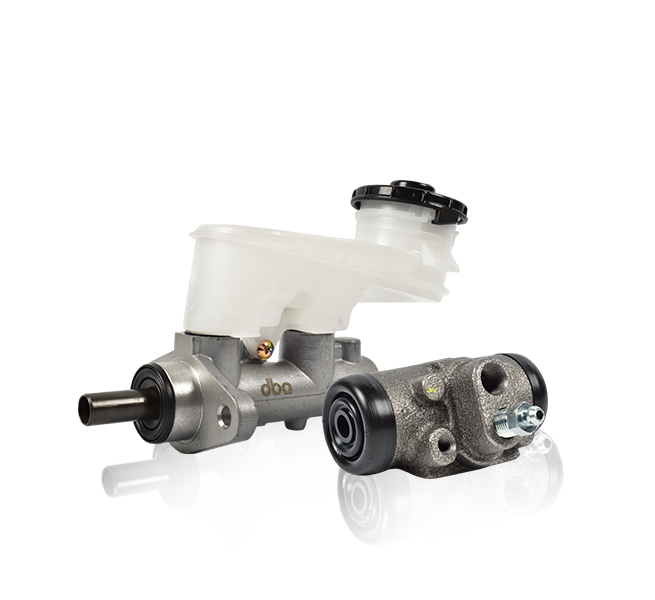
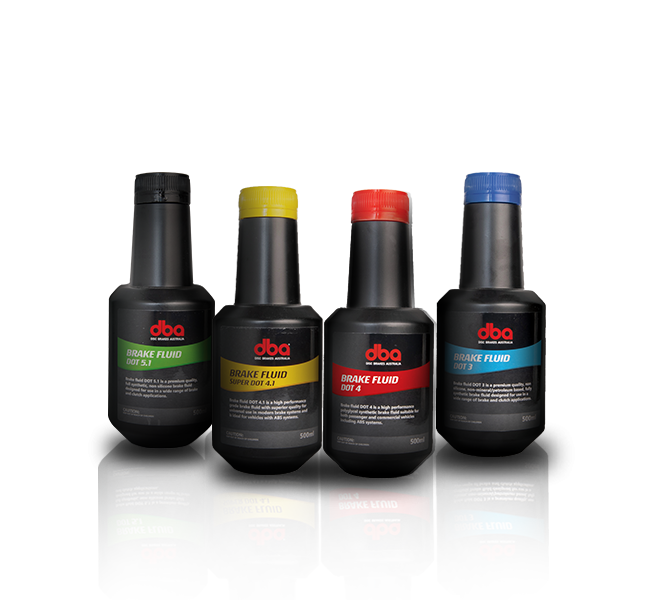
With over 2,000 SKUs in stock, Disc Brakes Australia now has the right brake caliper, master cylinder, brake cylinder, brake hose and brake fluid for the application! Disc Brakes Australia (DBA)
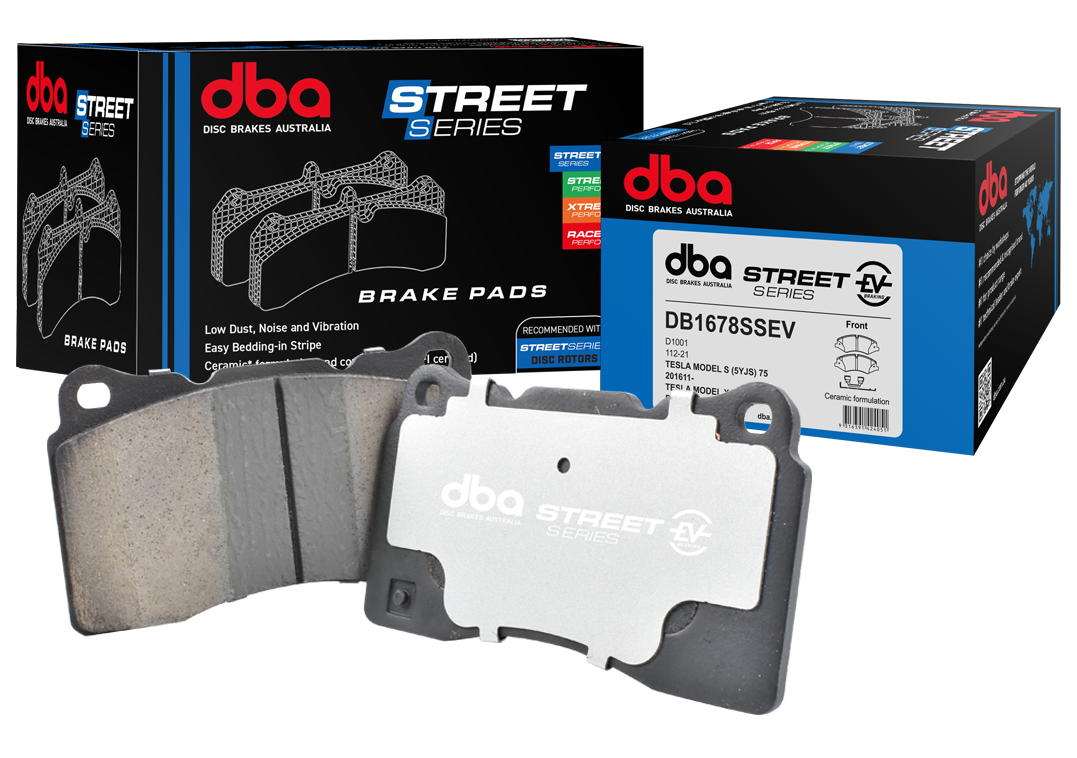
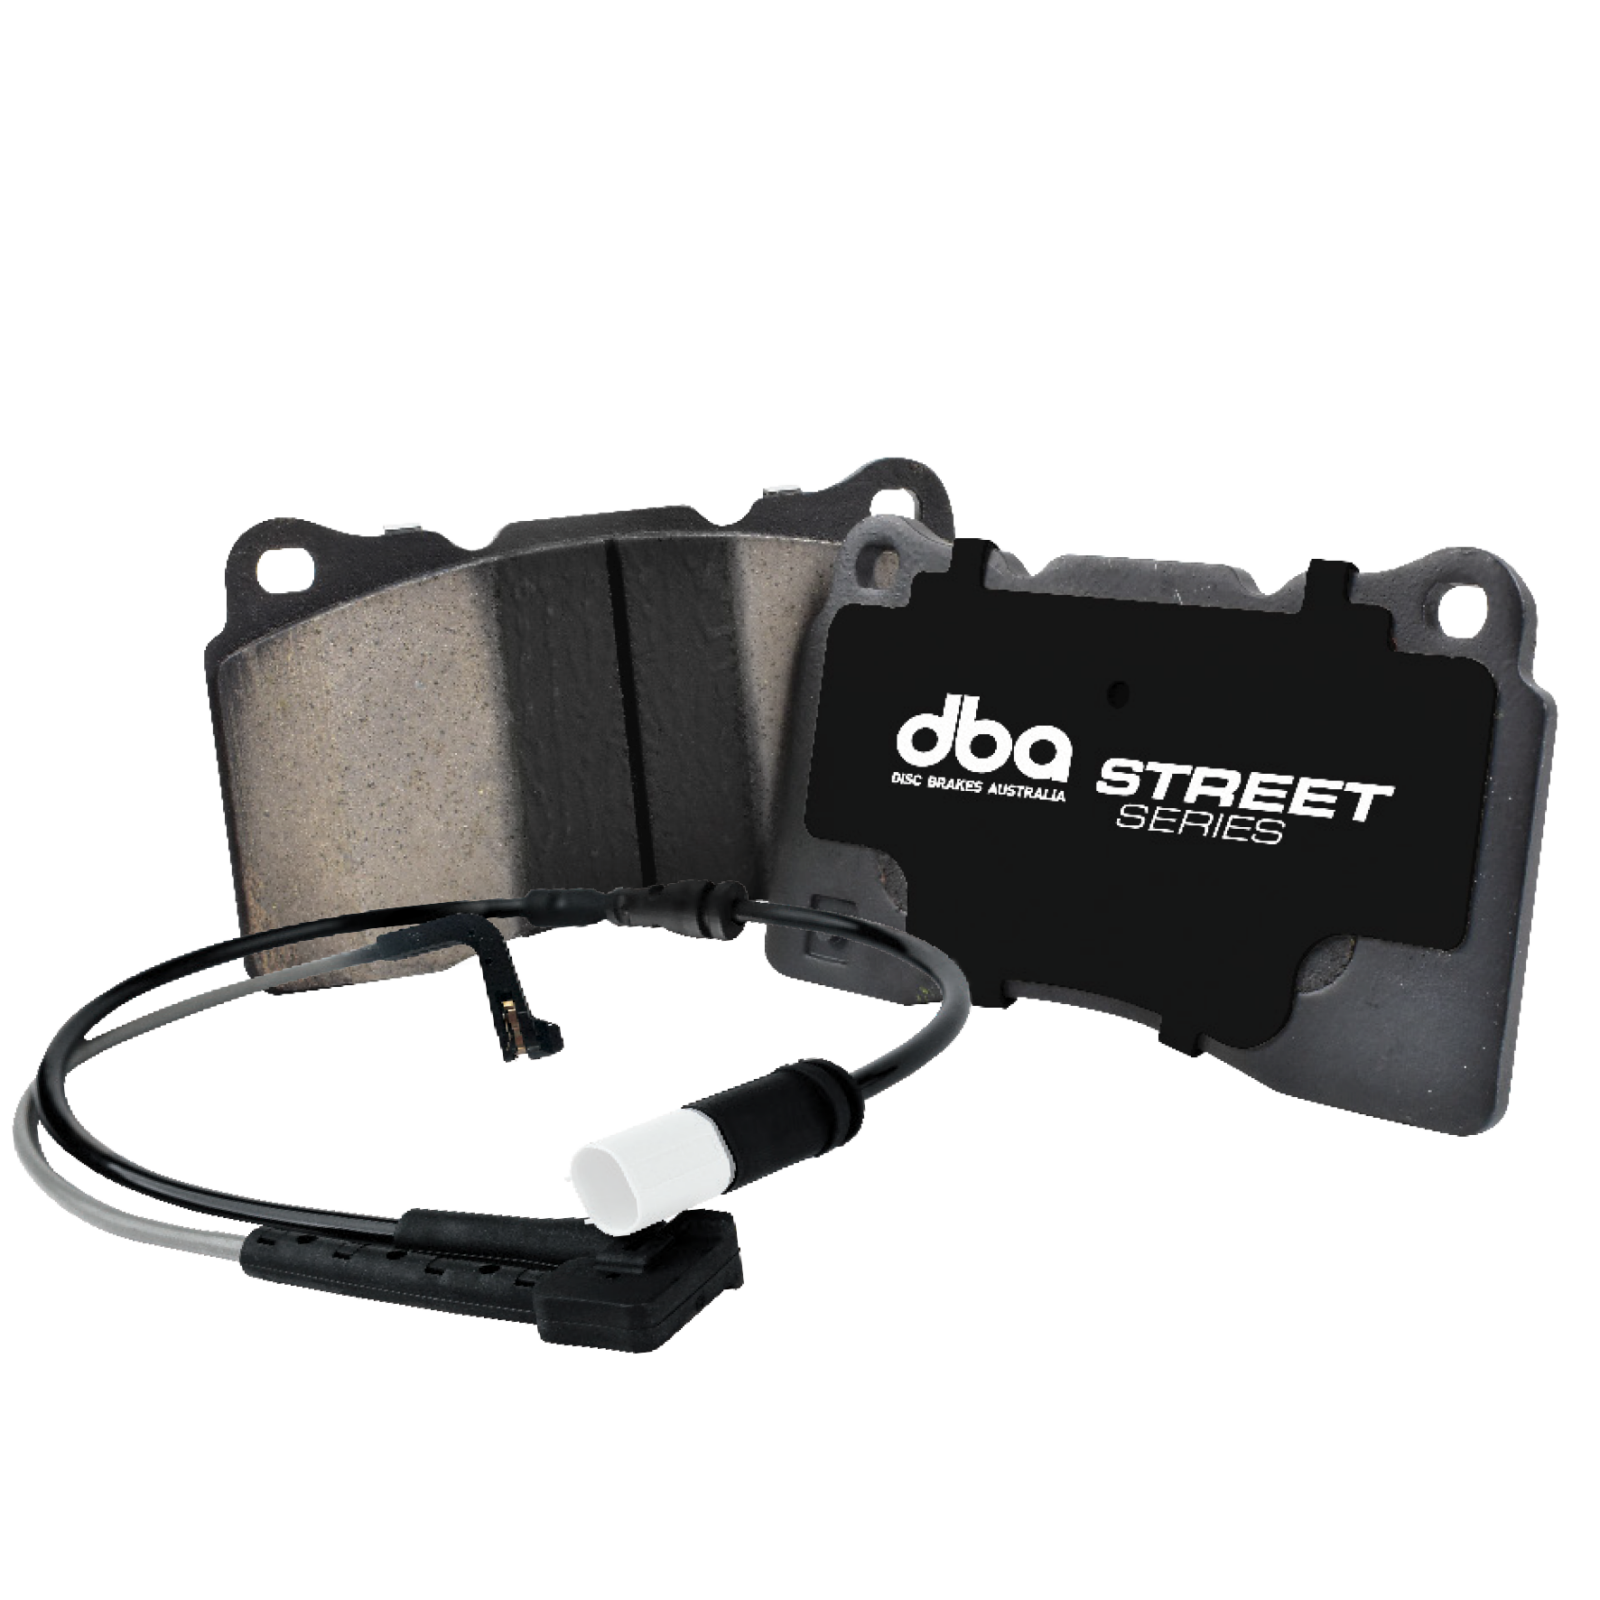
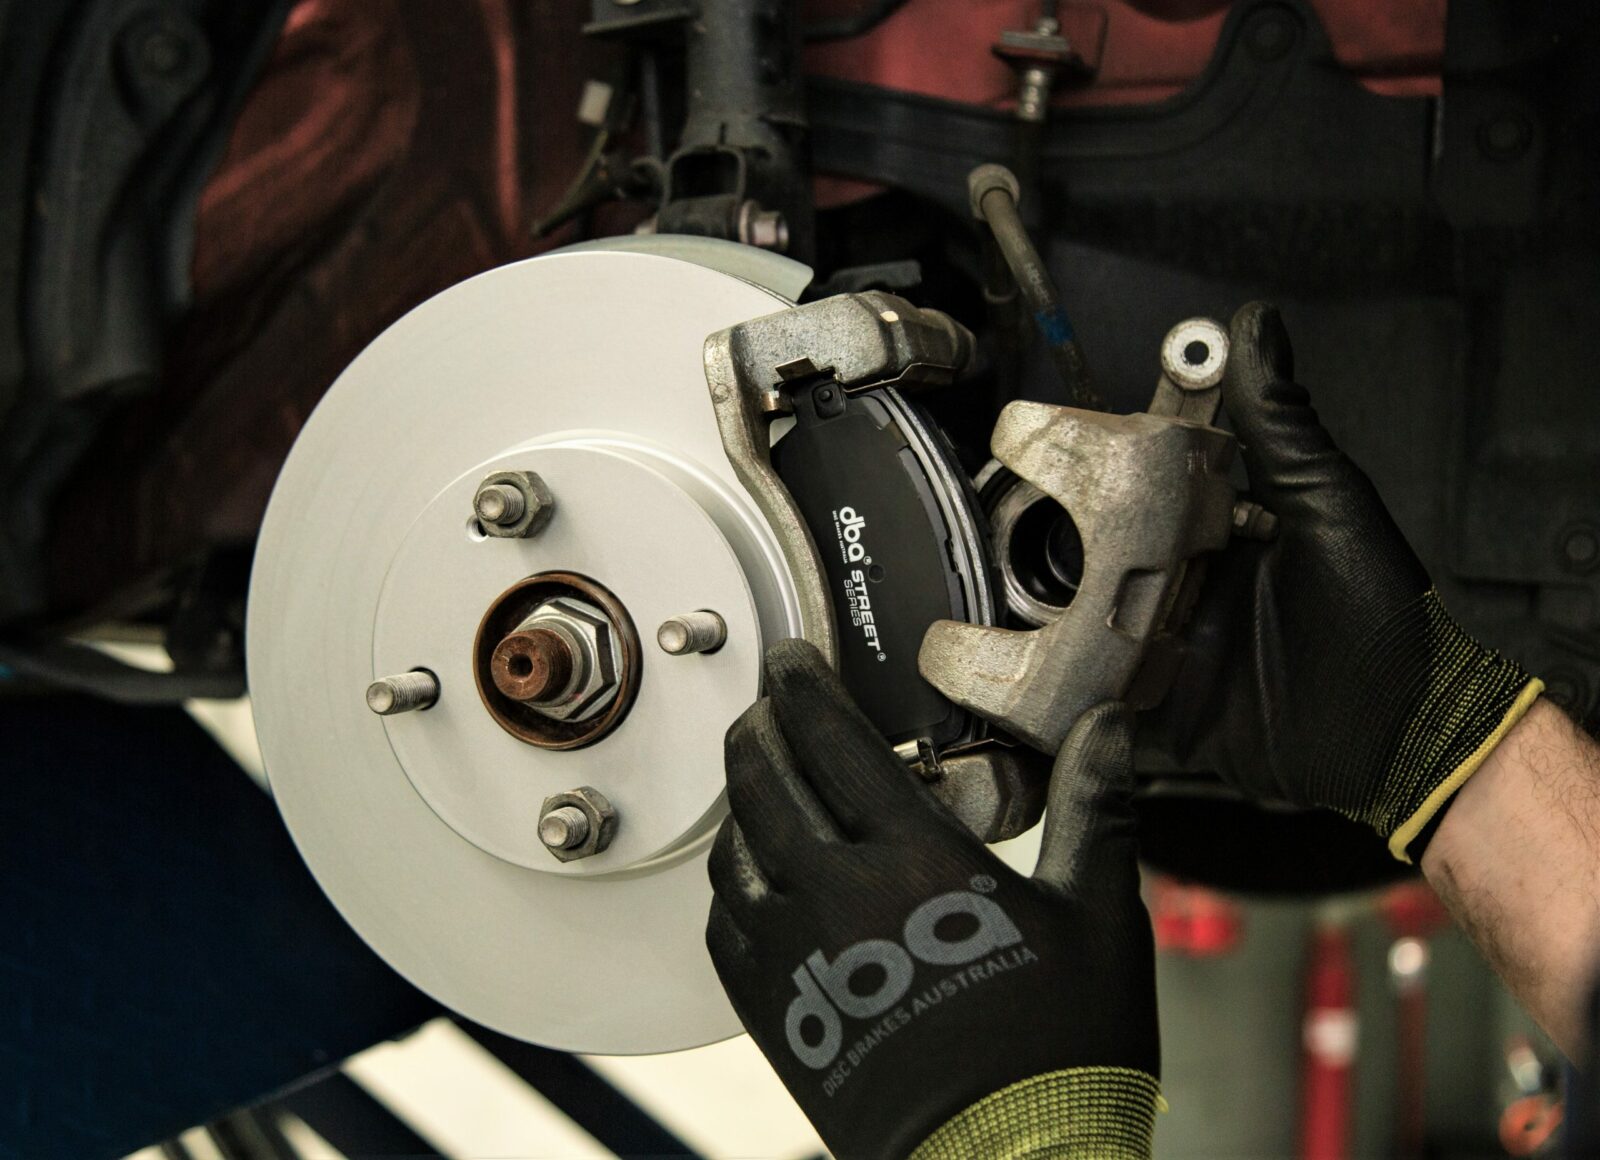
Offering the right product for the application has guided Disc Brakes Australia’s product strategy for many decades. Developing a brake pad that is specifically designed for the growing population
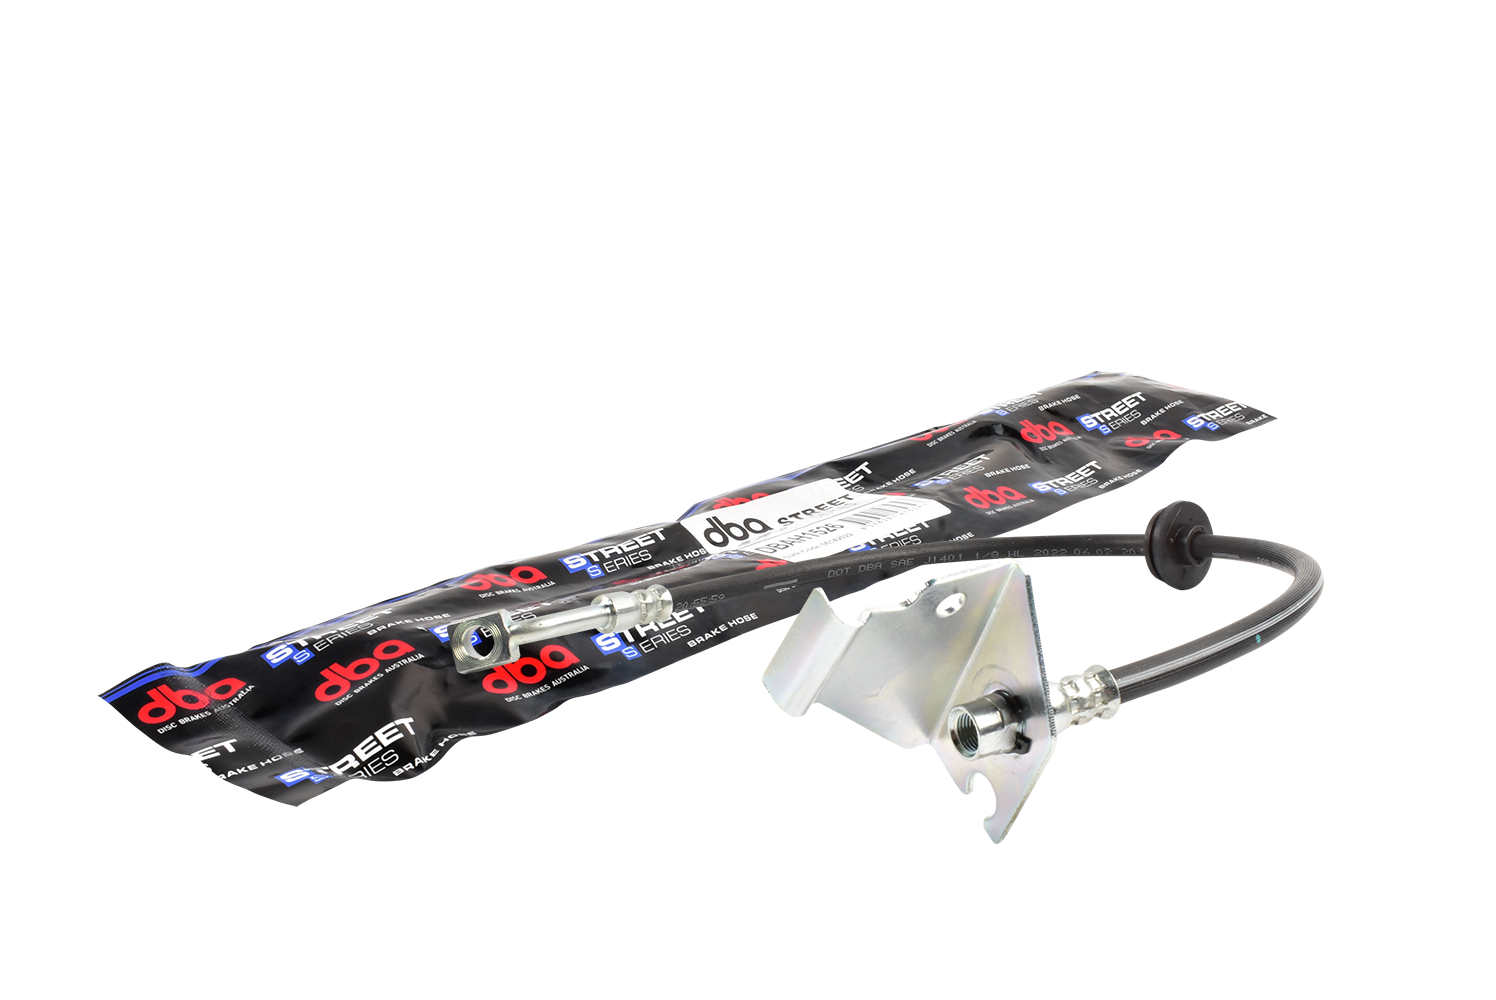
Brake Hoses are the latest addition to DBA’s comprehensive range of STREET SERIES hydraulic brake products. As part of DBA’s commitment to maintaining its leadership in braking technology, the

When Gary Davison joined DBA in Brisbane in 1988, the company had only just opened its first interstate branch in Queensland. Initially tasked with the running of the QLD operations, Gary went on to
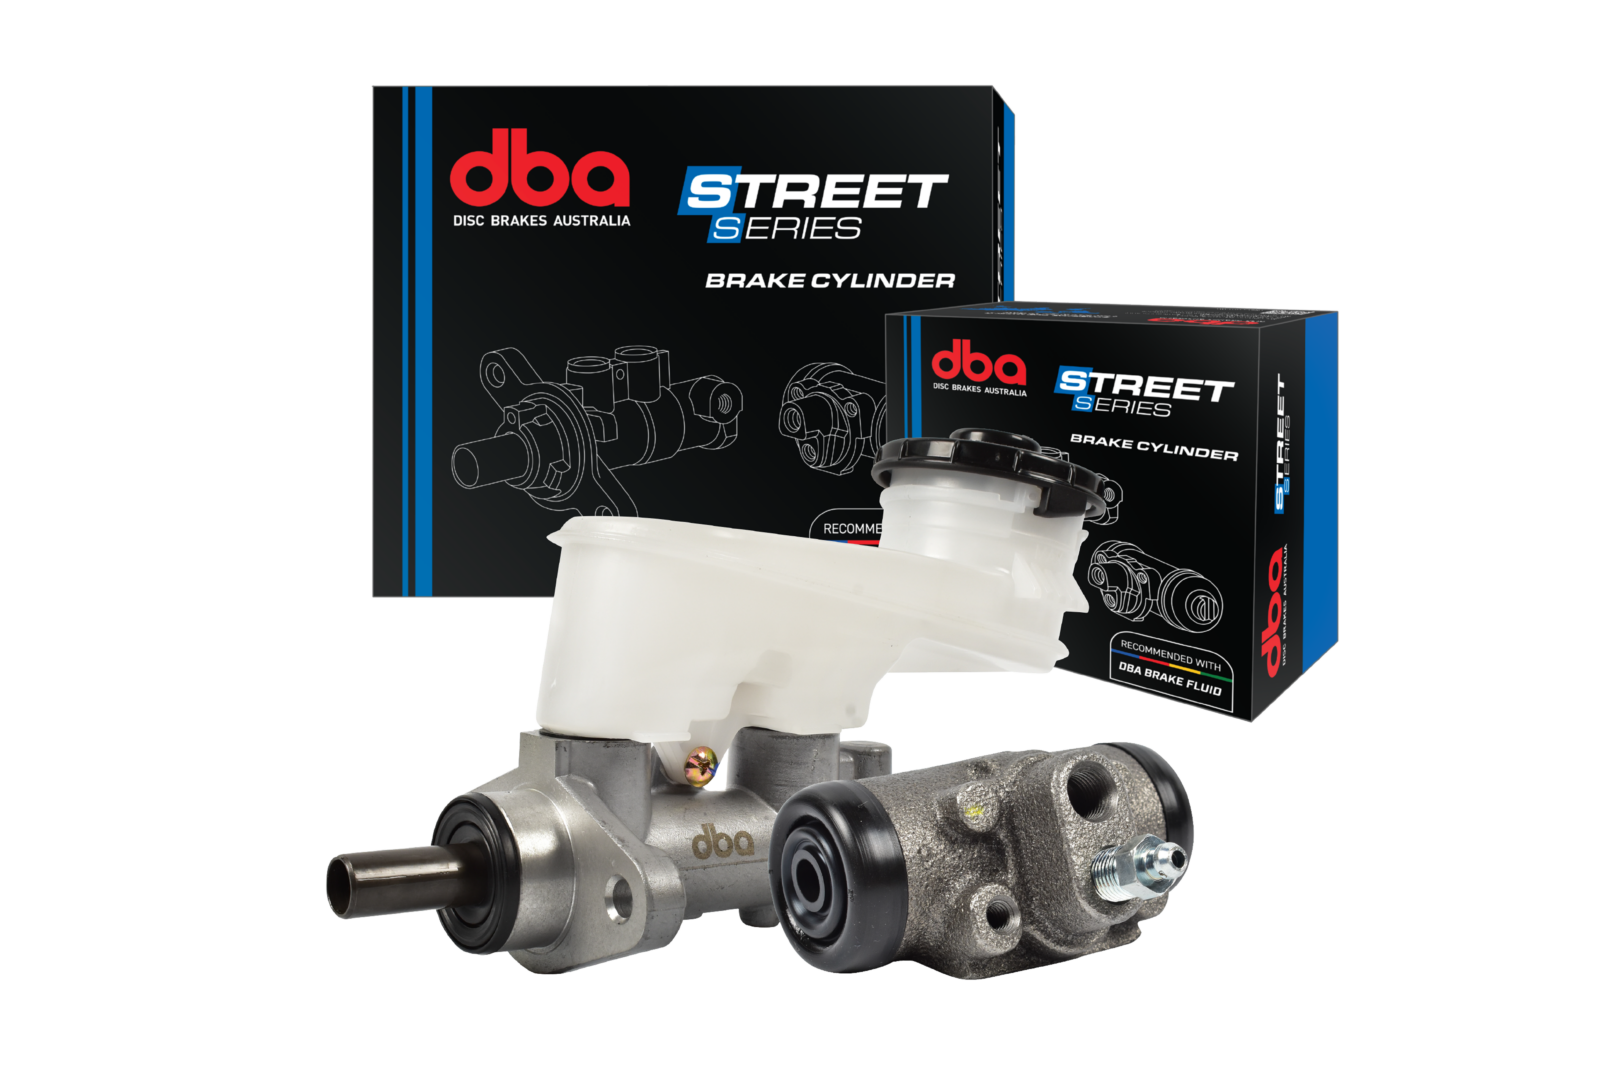
With a comprehensive program of brake Master- and Wheel Cylinders, Disc Brakes Australia (DBA) is launching the latest addition to its range of brake product lines. Having enjoyed tremendous
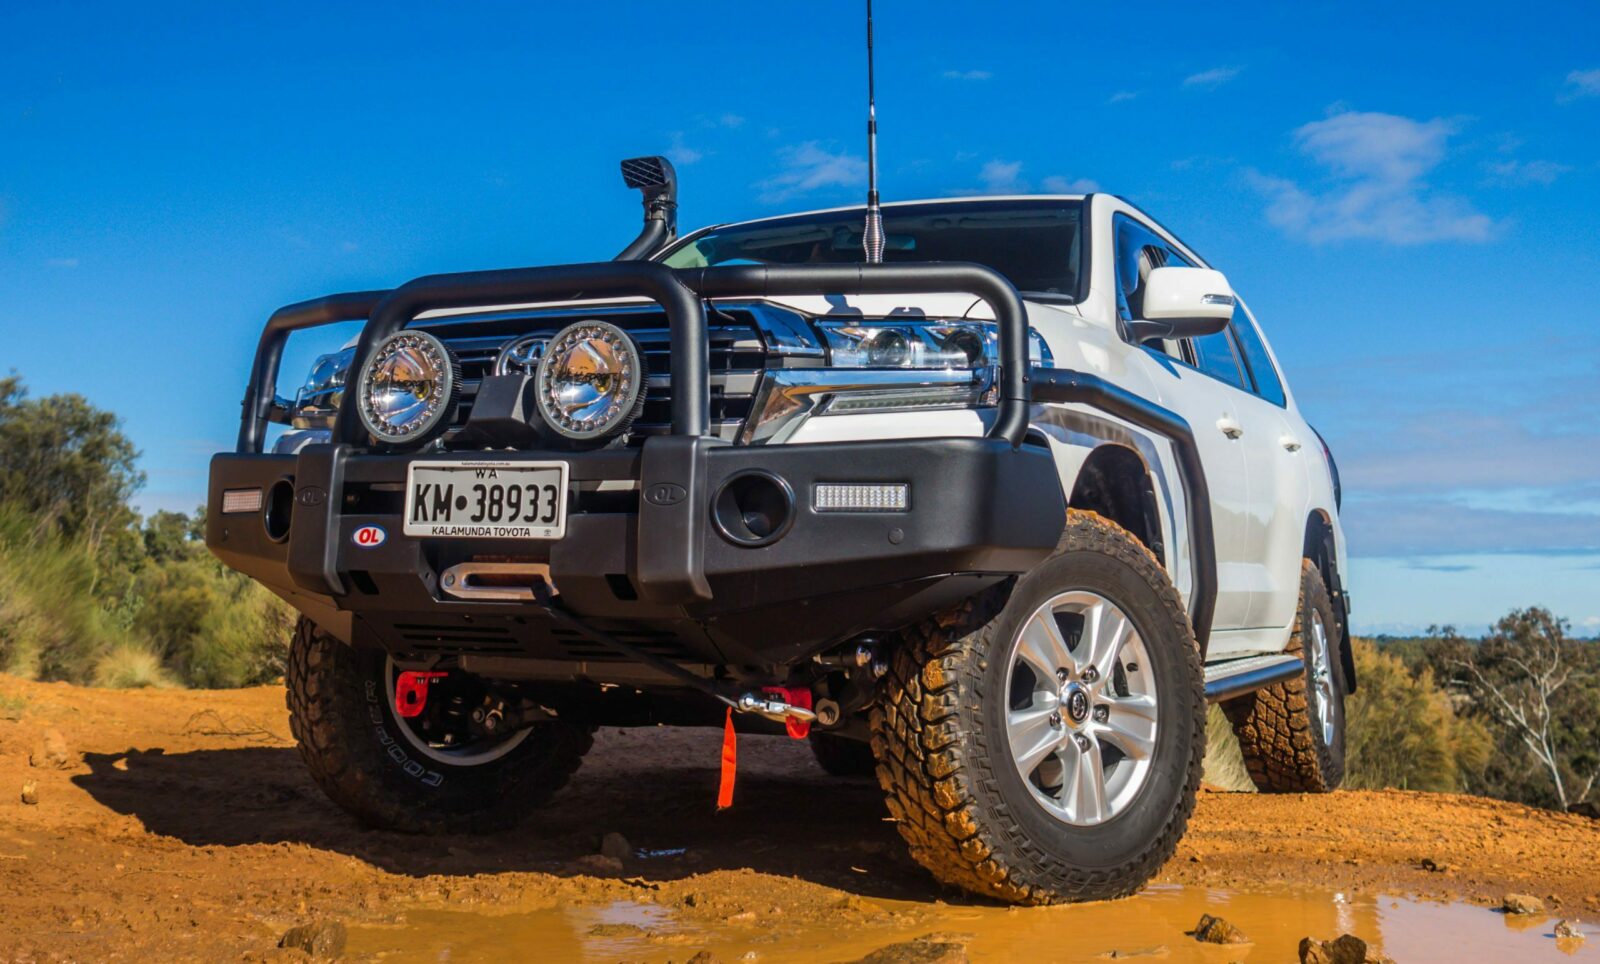
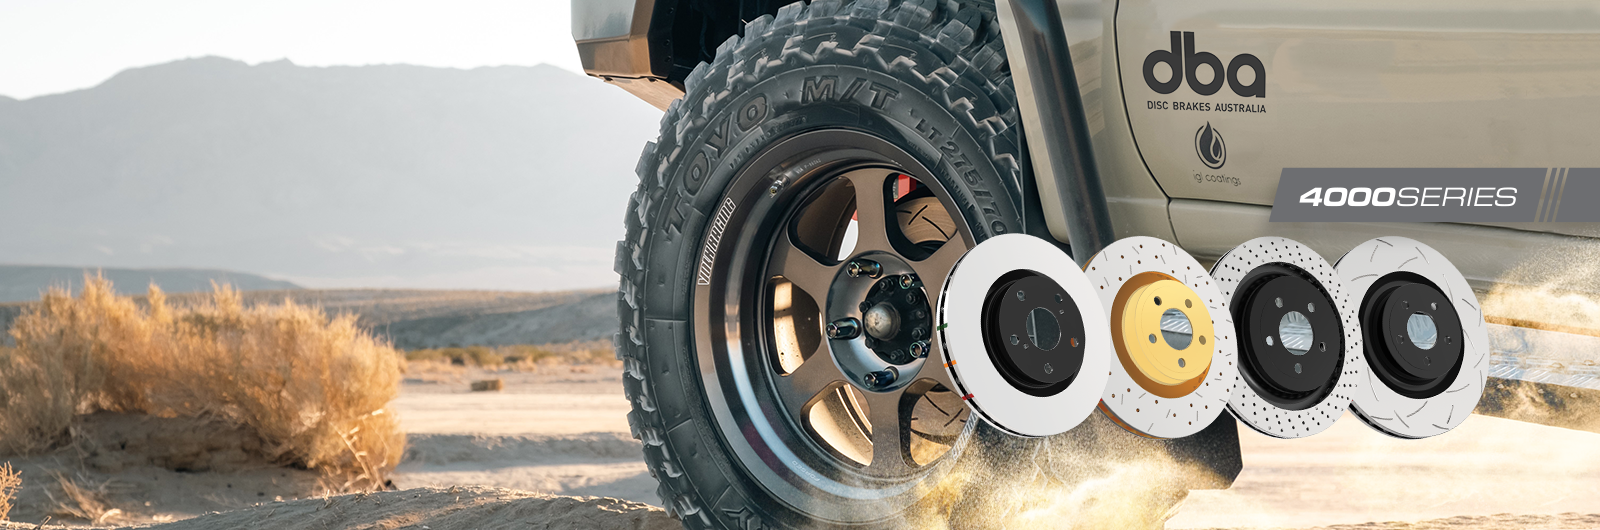
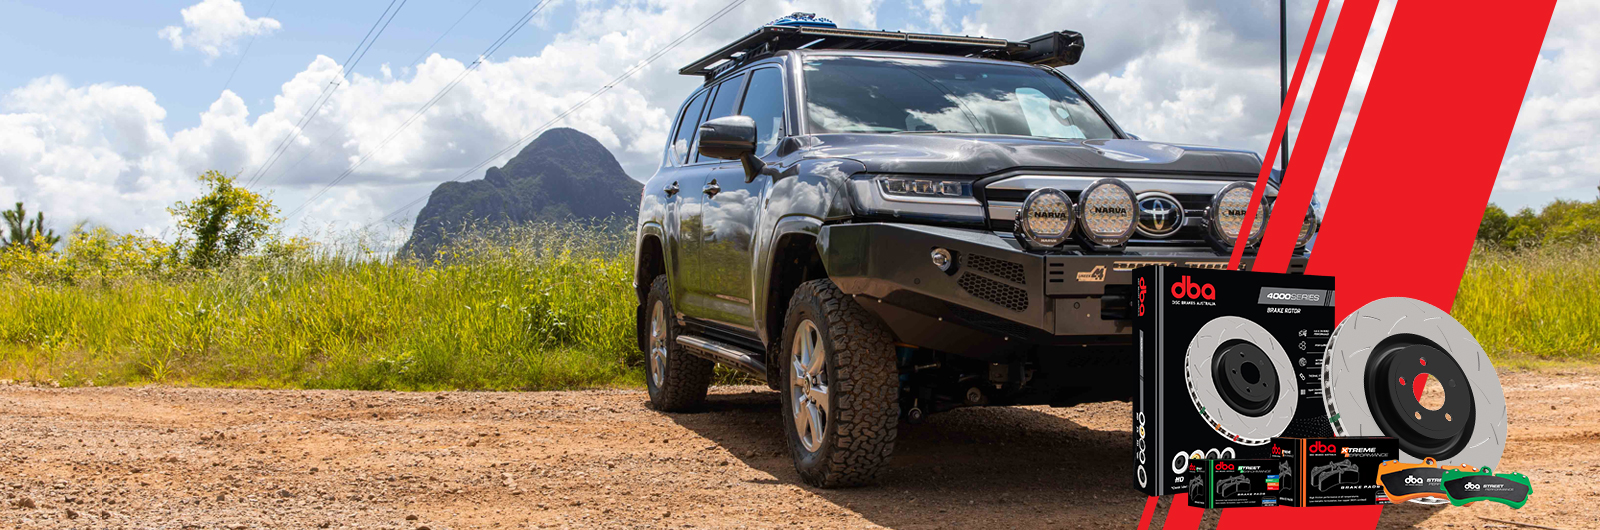
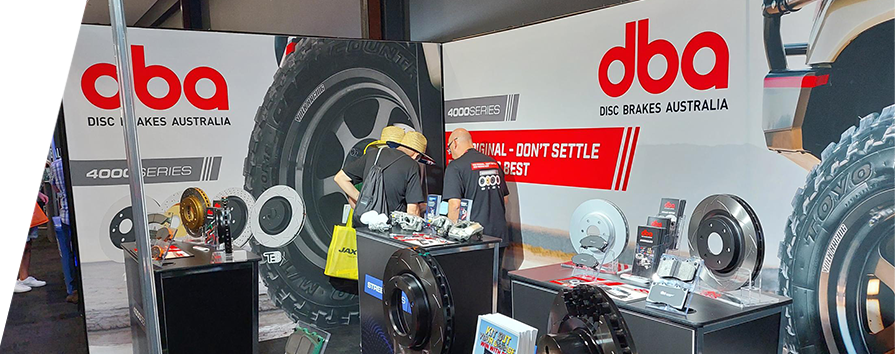
Disc Brakes Australia (DBA) has stepped up its presence in the 4WD and off-road space this year with a range of new products and an increased market

For over 40 years, DBA has been recognised as one Australia’s leading automotive technology companies. Whether it is bringing new braking technology to the Australian market or ‘getting there
Disc Brakes Australia (DBA) manifests its position as Australia’s number one rotor manufacturer and leading brake solutions supplier at the recent AAAE show, putting on display the full width and
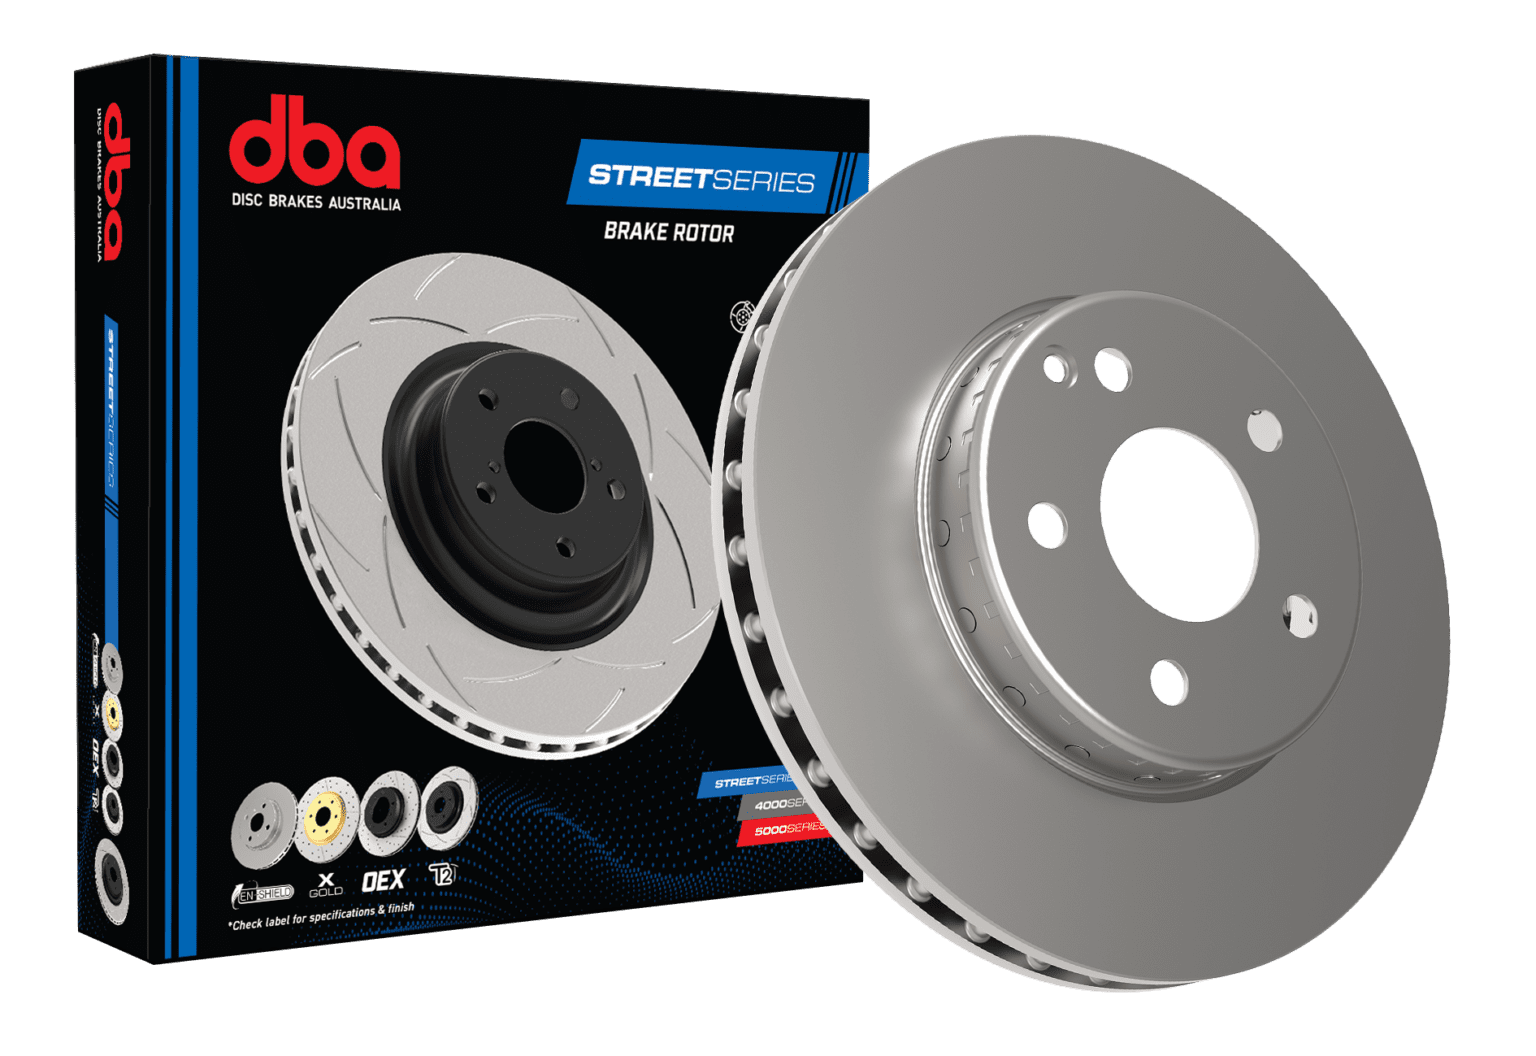
After a hugely successful first 12 months since its market launch, Disc Brakes Australia (DBA) continues to extend the vehicle coverage and service offerings for its STREET SERIES range of brake
Disc Brakes Australia (DBA) and Tickford Racing will extend their partnership into the 2022 Supercars season, with the leading brake developer continuing its role as the official brake partner of

More than rotors, more applications. This is how Disc Brakes Australia (DBA) will be presenting itself at this year’s Australian Auto Aftermarket Expo, held at the Melbourne Convention Centre from
After over a decade, Disc Brakes Australia is readying to present to the market an evolution of its brake rotor packaging. The new visual design is said to not only take the customer buying
Disc Brakes Australia (DBA) is once again demonstrating its commitment to improving user experience by adding a new feature to its market-leading online product catalogue. With workshop mechanics
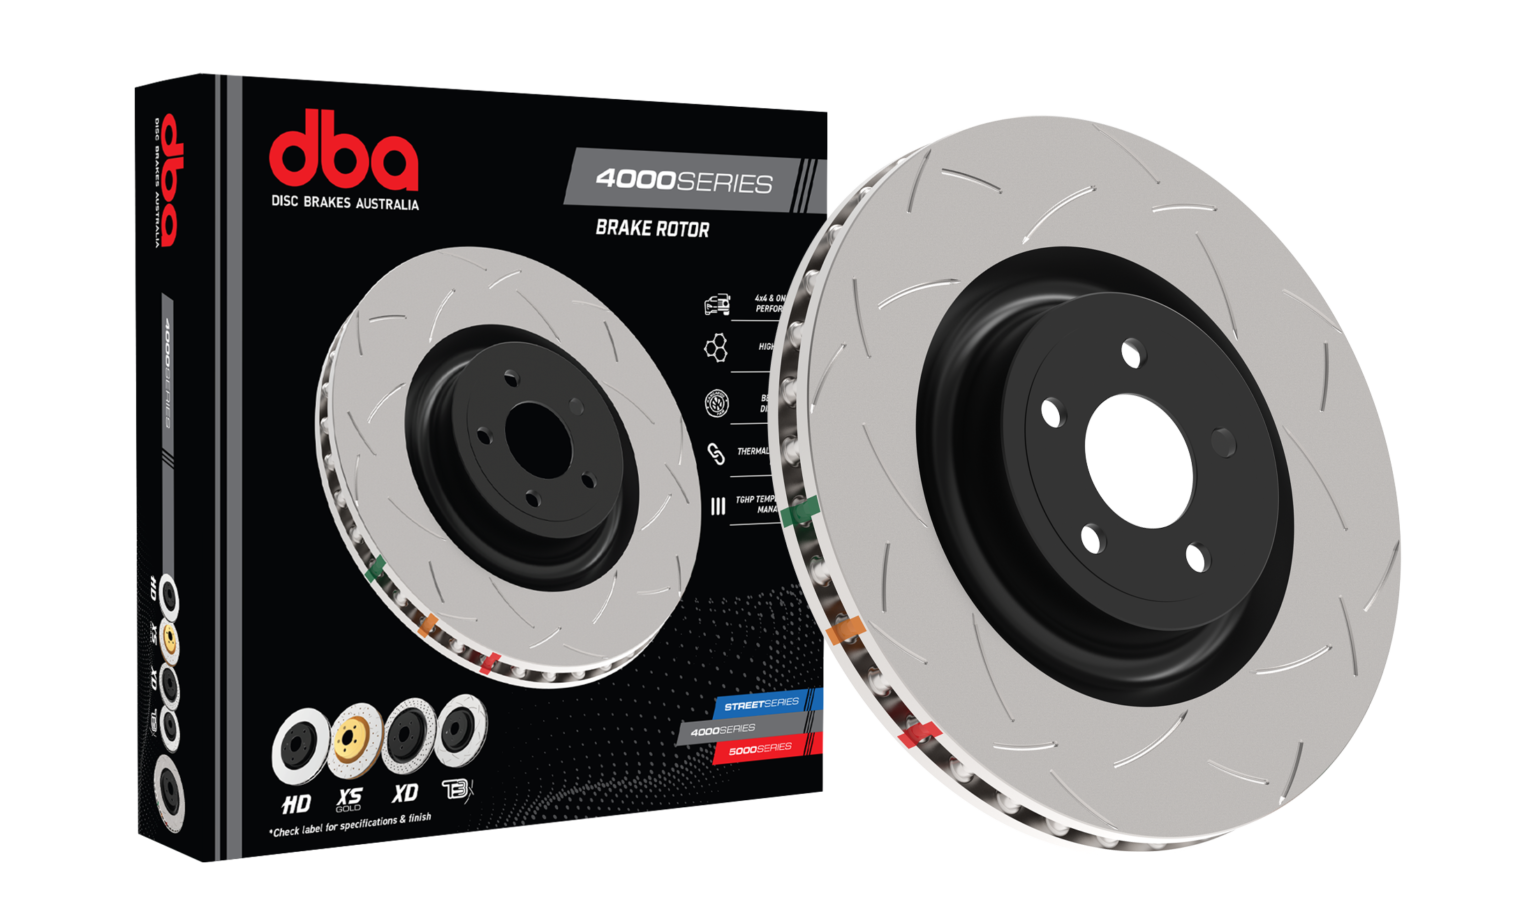
Disc Brakes Australia (DBA) continues to expand its range of performance brake rotor and pad applications, and shares some tips on what to look out for when selecting a braking component for the
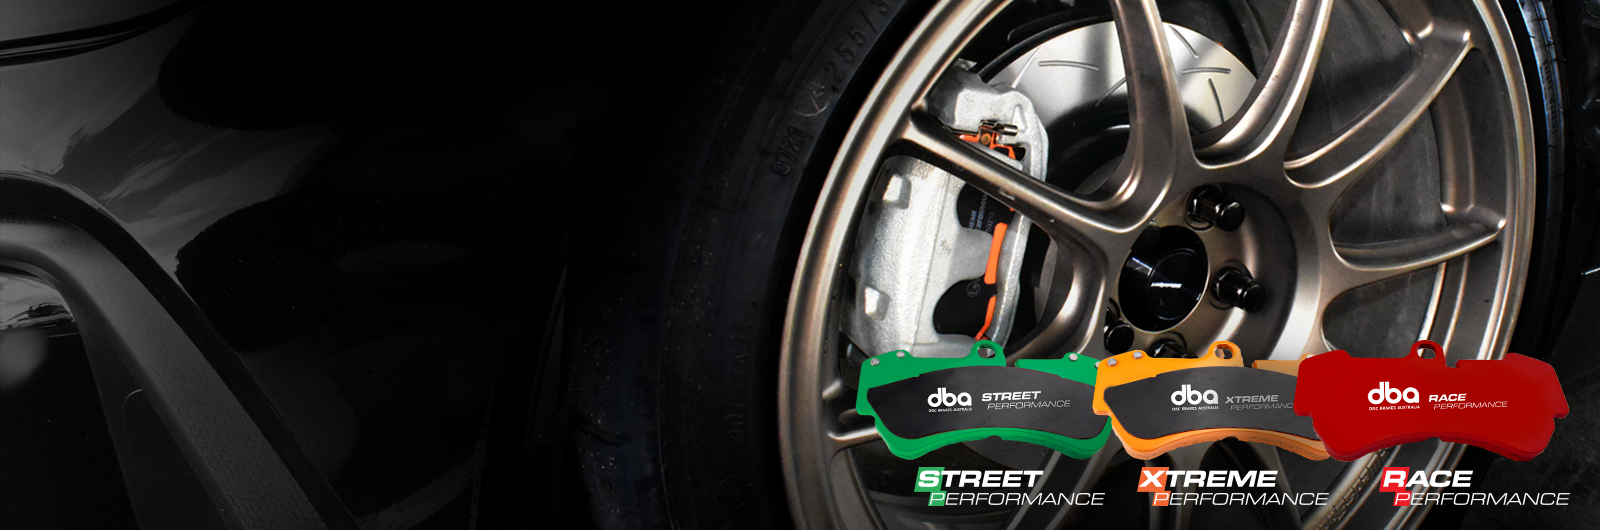
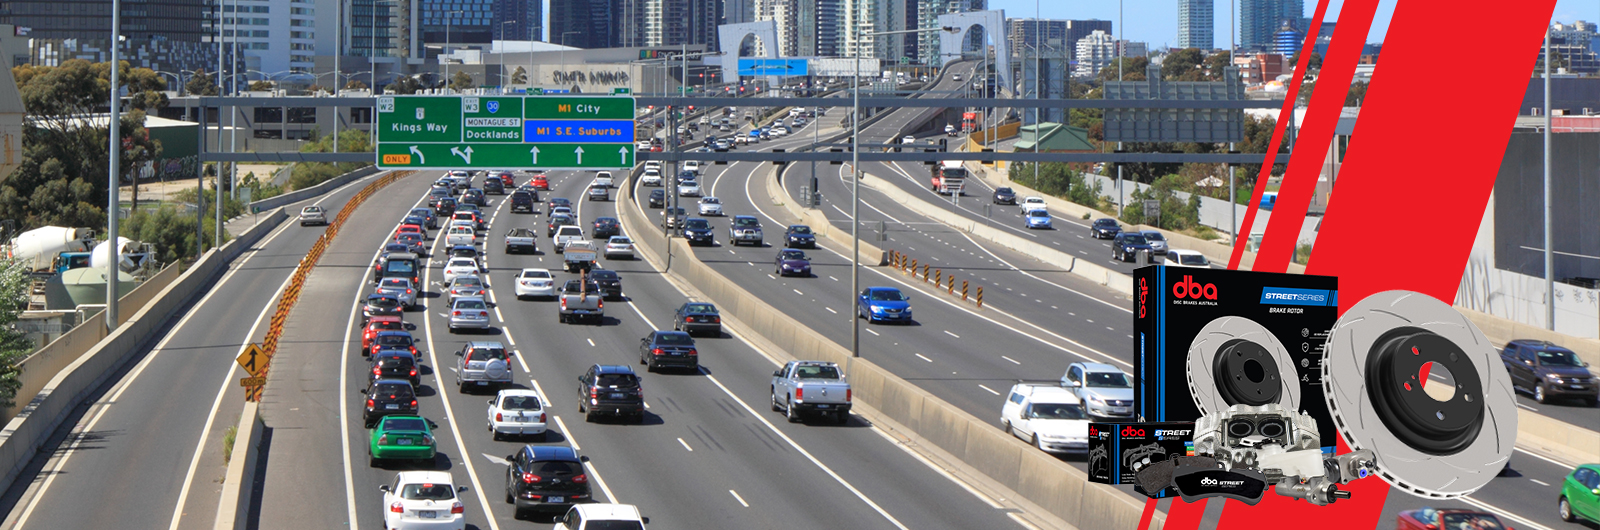
DBA Brake Products – Trusted on the track and the street For over 40 years, DBA has been setting the standard in brake rotor technology, performance, and quality, demonstrating technical leadership
Disc Brakes Australia is an Australian manufacturer, designer and global marketer of aftermarket and OE-replacement brake rotors and drums, brake pads and shoes, brake cylinders, calipers, brake hoses and fluids, sensors and other ancillary items.
International: (+61-2-9748-0211)
Email: [email protected]
© Disc Brakes Australia 2024 Privacy Warranty Statement Disclaimer

 Part Finder